Sunday, April 29, 2018

Wishing You Happiness


Sometimes I am  the person that like old staff. This is old Stampin Up! stamp set--Summer by the Sea. I got it from eBay.

I wanted to make a simple watercolor card today. I stamped the image on the watercolor paper first. Then I sprayed the clean water on the card and tapped the watercolor on it. I didn't color the detail. Only spread color on the the position that I wanted.

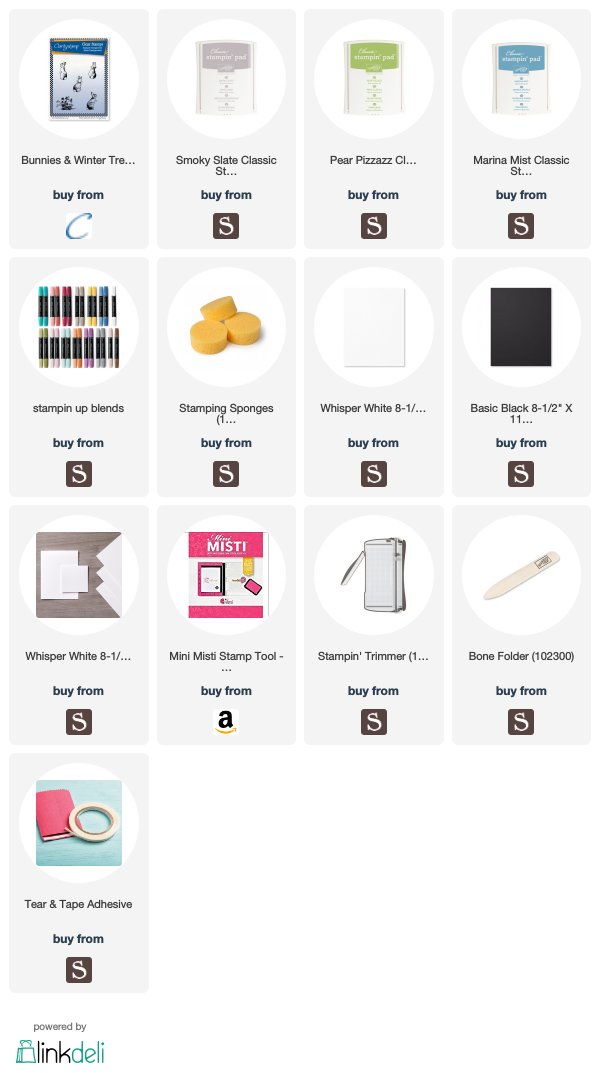
Supplied that I used:
Retired Summer by the Sea bought from eBay.
Thursday, April 26, 2018

Under the Sea


Even this year spring is longer than normal, summer is still in the corner. School year is almost end. I started to plan the travel for summer vacation. I like to climb the mountain, but my daughter loves the sea. Every time she picked a lot of shell when we went to the beach.

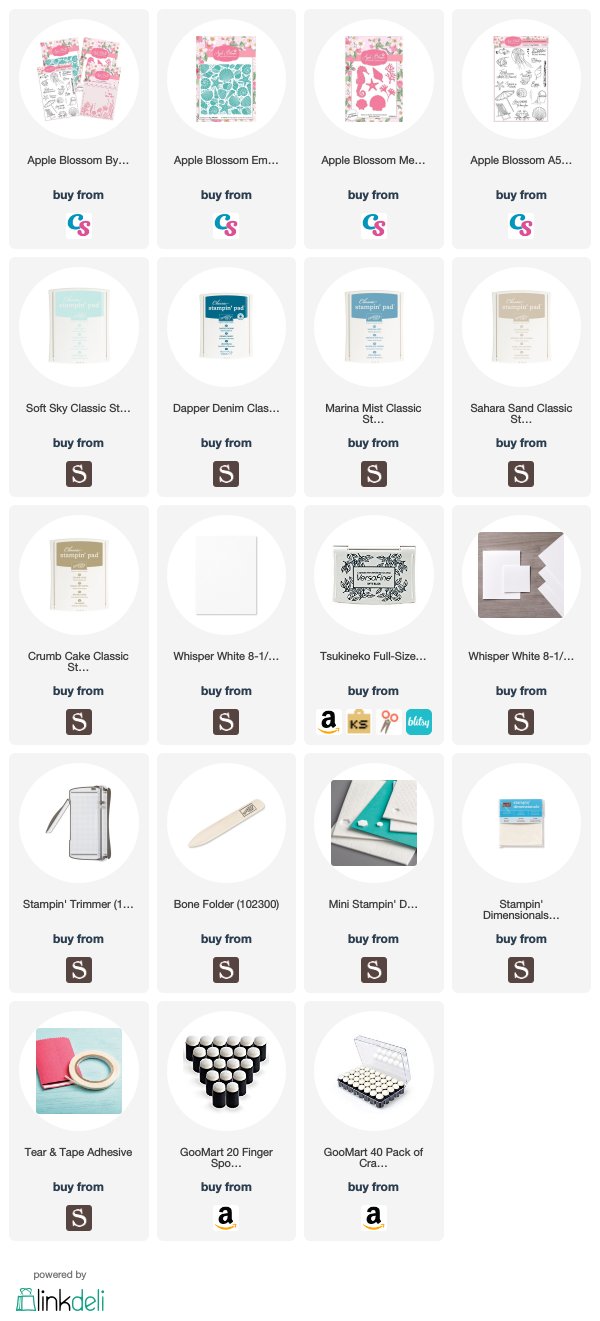
Today I made the card that about sea shell.  I ordered the some products of Apple Blossom from CraftStash in UK.

I embossed the white card panel by embossing folder. Then used the sponge dobber to add the the different color on the shells and starfishes. I die cut the seahorse and shell. I also sponged the color on it too.

I stamped the sentiment on the lower border of embossed panel. And stuck the seahorse and shells on the card by foam tape.

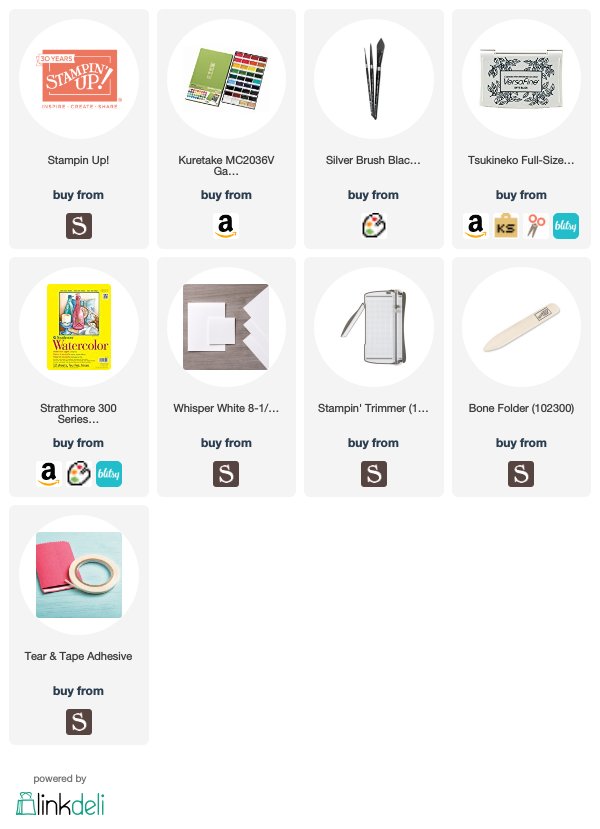
Supplies that I used:

Tuesday, April 24, 2018

Two cards made by Altenew products

I was super busy since last week. Everyday I spent ton of time at my daughter school. I didn't have time to make card and wrote a blog. Today I finally I had a little time to take a break. Making card is relax time for me. 

I received the my order from Altenew  last week. But I opened it until today. I made two cards.  Very enjoyed!


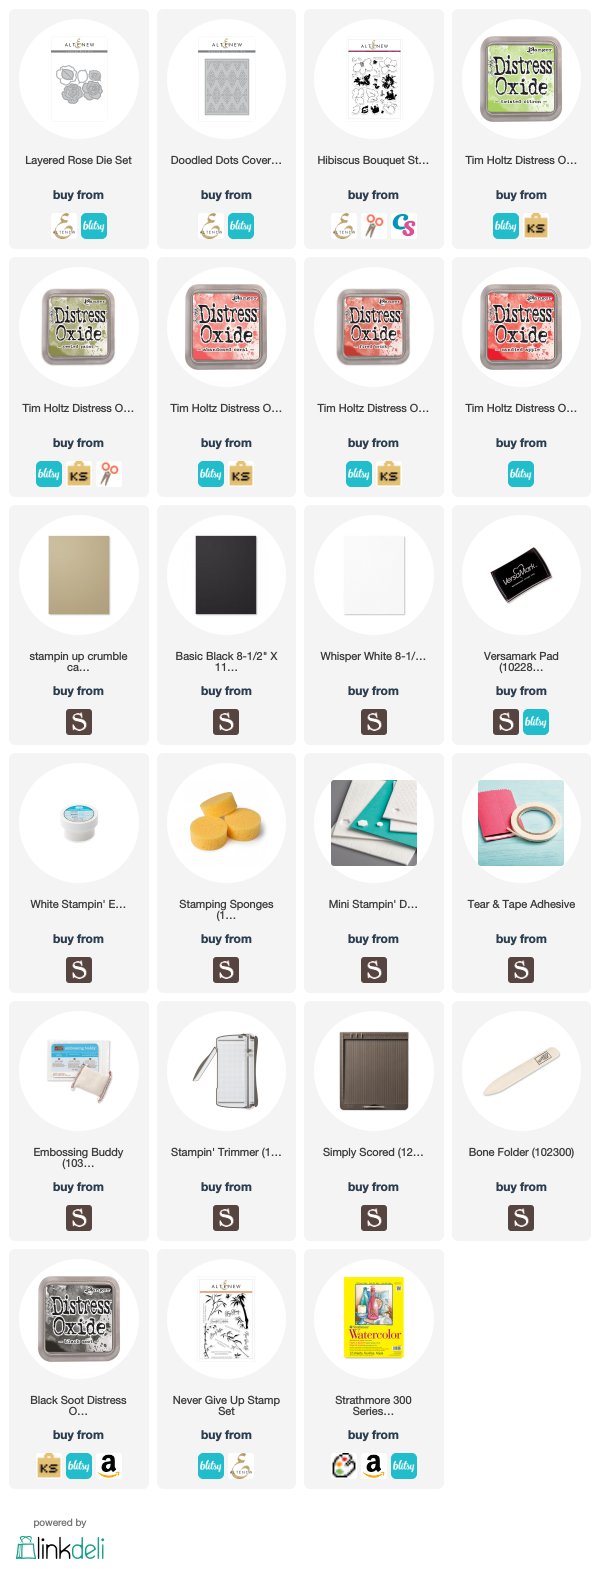
This is made from the layering rose die. I sponged the different Distress Oxide ink color on the white cardstock. Then die cut them. I also die cut the background. I glued every thing together. 


I also used the Altenew Never Give Up stamp set to make a watercolor looking card. I stamped the bamboo on the watercolor paper. Then added the a little water. After drying, I added the water to around the bamboo and ground.

Supplied that I used below. The second card stamp set I list at the end.


Tuesday, April 17, 2018

Laser cut celebrate card


It's first time for me to On Stage. It's surprise me to see a lot  of new coming products and met ton of nice people. Very fun day.  Within all coming new products, the laser cut paper was impressive. It's beautiful, delicate and unique. It's available for customer on June 1. I got my from On Stage pro-order.

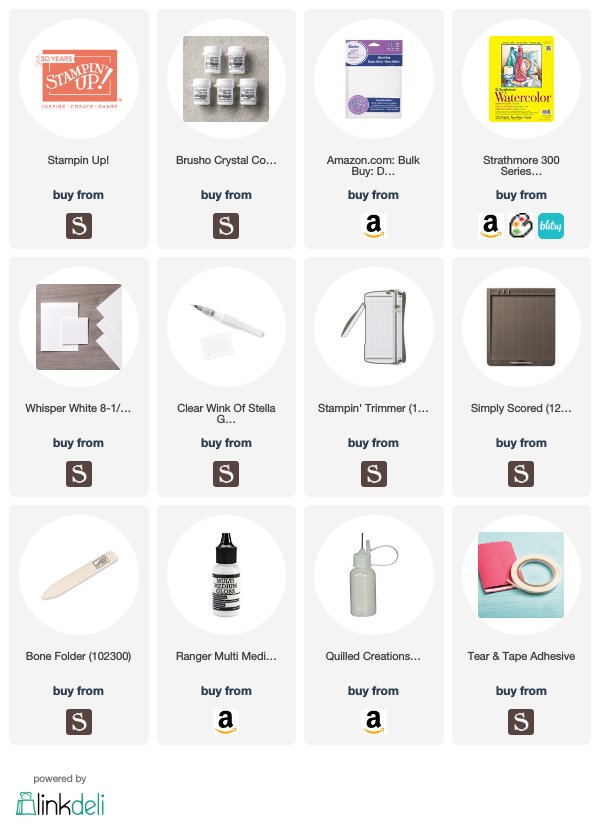
Today I played this laser cut paper with color brusho together. I used the color brusho to make background on the watercolor paper. Then I used the very thin foam tape to stick the laser cut paper on the background paper. I only put the foam tape on the four edges and  one tinny on the back of sentiment area. I left all other place leaving in the air.

Finally I glue the celebrate sentiment on the card. And added the shimmer on the sentiment.

Supplies that I used:

Laser cut paper is available on June 1, 2018

Saturday, April 14, 2018

Butterfly Wishes


When I was waiting my daughter's ballet class, I went to Barne's & Noble. I found the some new magazines. Those magazines also can buy from craftstash.co.uk.  Today I used the Stamps By Chloe kit box to make this beautiful butterfly wishes.

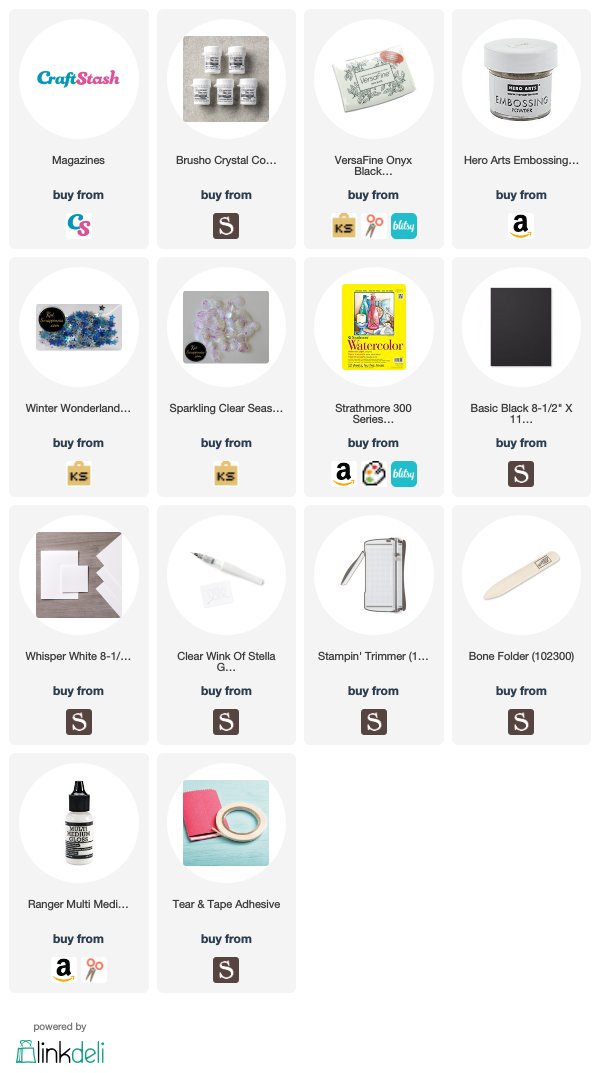
There is dies, embossing folder, stencil and stamps in the kit box. I used the die and stamp on my card today.

I dropped the color brusho on the wet watercolor card to make the background. Then I stamped the butterfly on it. And I used the matching die to cut the butterfly. This die would make the butterfly pop out but didn't cut through. I got 3D result.

I embossed the sentiment by gold embossing powder. I also added the shimmer on the butterfly.  And mounted the card panel on the black cardstock to make a thin frame.

Supplies that I used:

Thursday, April 12, 2018

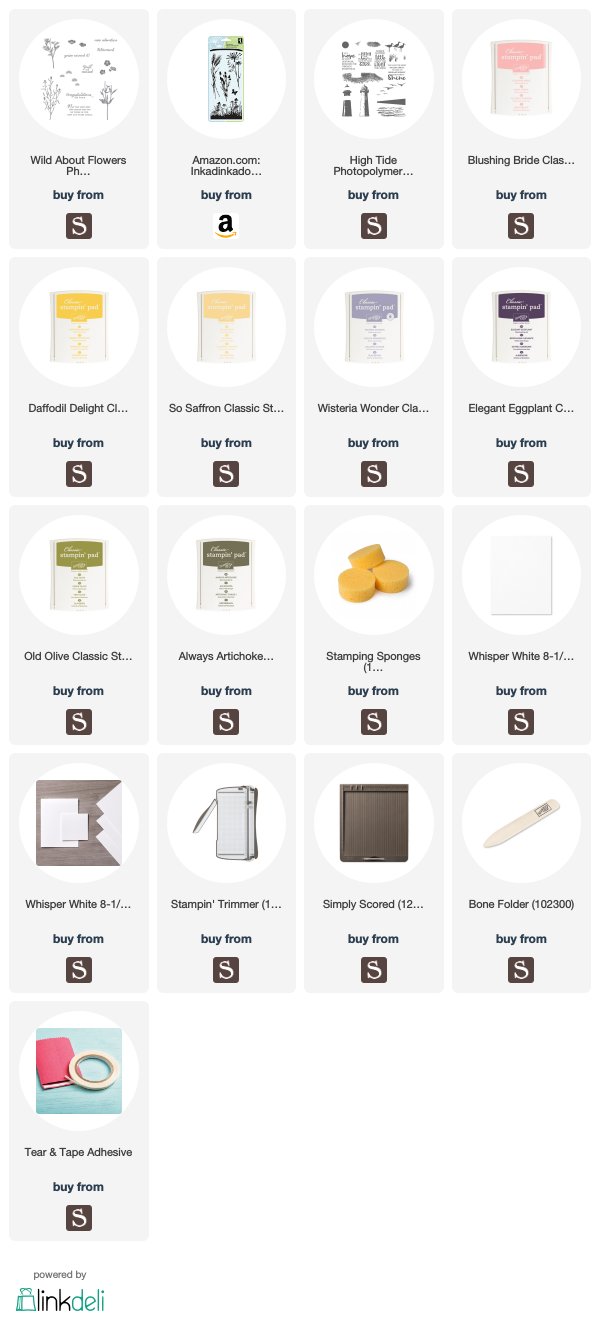
The call of distant mountains


Making mountains scene is one of my favorite.

I tore the copy paper to make the mountains first. Then the down sky with light peach color.

After sponging the background, I stamped the plants by different color.

Finally, I added the bird on the sky.

The supplies that I used:

Tuesday, April 10, 2018

Together we make a great pair


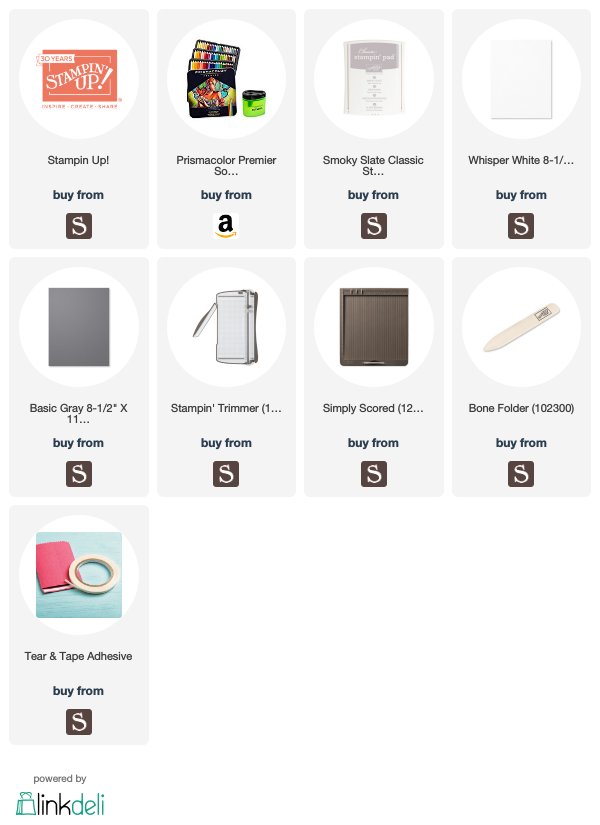
I was so glad to meet a lot of nice ladies On Stage on last Saturday. It was wonderful time. We had this cute stamp set-- Animal Outing in the goody bag. Today I used it to make a card.

I stamped the elephant with bird on the card by light grey ink color. And I also used the same color ink to stamp the sentiment on the right upper corner.

I used the color pencils to color the elephant, bird, sky and grass. And I mounted the card on the grey cardstock for base.

This cute stamp set is available for customer purchase on May1, 2018.

Other products that I used list below:

Thursday, April 5, 2018

Gelli background Birthday Card


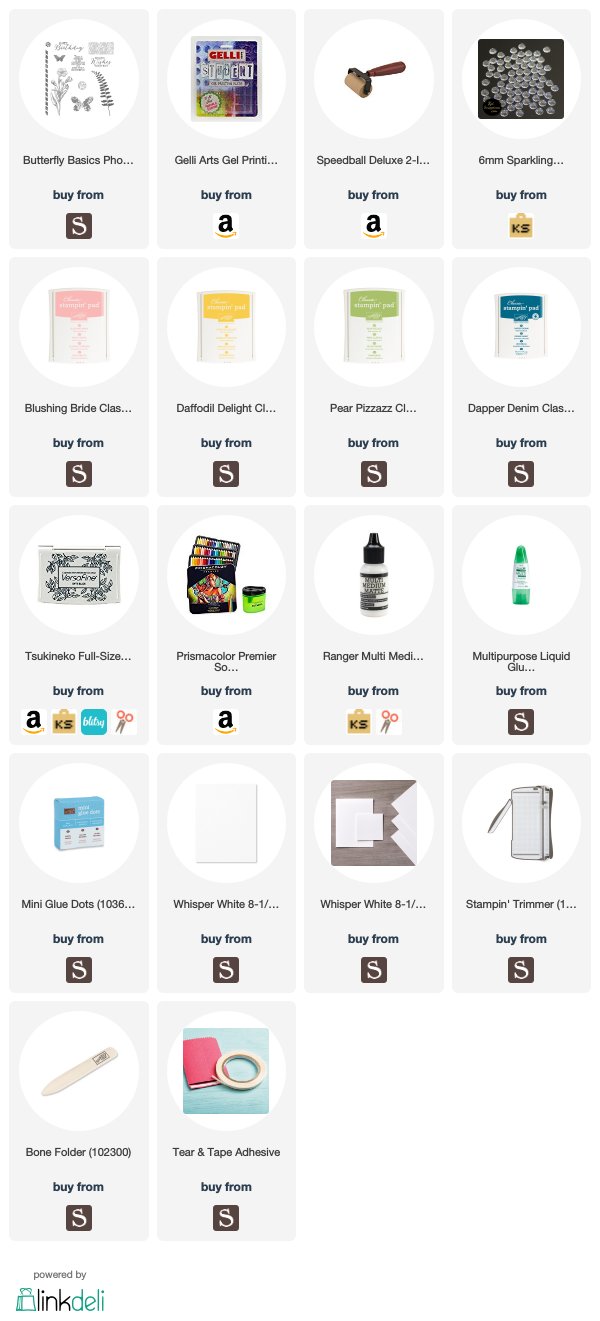
Long time I didn't use my Gelli plate. After I watched YouTube video from Clarity Stamp, I wanted to use it again.

I put the different color ink pad on the Gelli plate and used the brayer to make the surface smooth. Then I directly stamped flower on the Gelli plate.

I covered the white card panel on the Gelli plate and got all the color and image on the card. I colored the flowers and leaves by colored pencil.

I stamped the butterfly on the other Gelli plate made card panel by the same color. Then fussy cut it out and glue it over flower. I also glued the some glass dots on the card.

Supplies that I used:

Tuesday, April 3, 2018

Beauty card


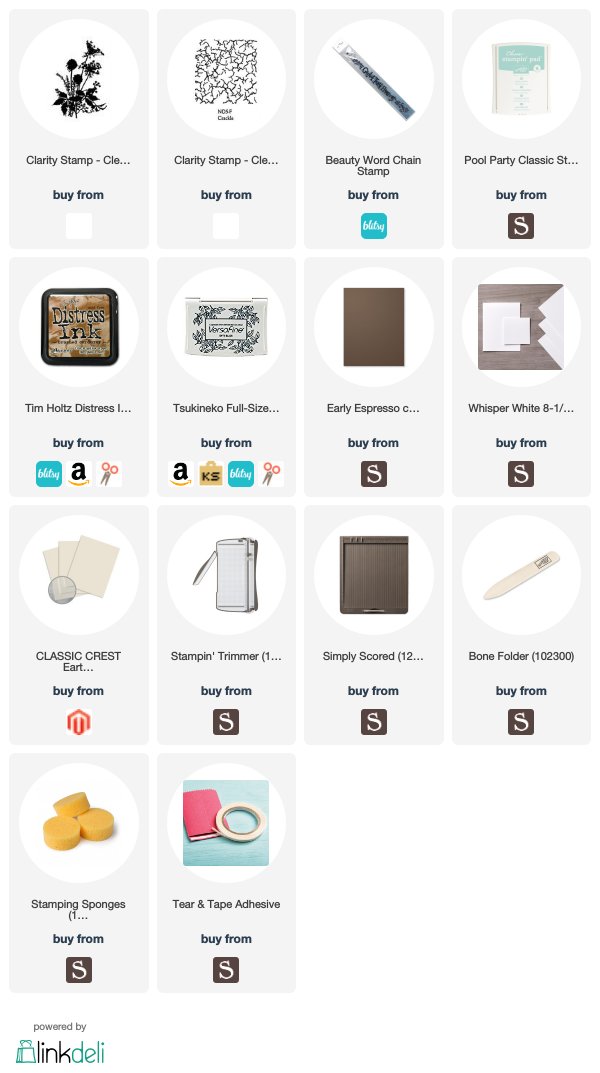
After I bought this lovely Earthstone card stock, I never use it. I decided  to use it today. It turned out more beautiful than I thought.

I stamped the background image on the white cardstock first. And I stamped the flower on it. After that, I sponged the color brushed corduroy on the edge.

I added the early espresso card under the white panel to leave a thin border.

Supplies that I used:

Sunday, April 1, 2018

Easter bunny card

This bunny from Clarity Stamps. I love this stamp set not only cute bunny but also they include bunny mask. So I don't need make my own mask by post note. It's so easy to create a card.

I stamped bunny and masked it. Then I stamped the plants. Left the bunny mask on it. I tore the copy paper to sponge the scene. After all, I used the blender marker to add grass and  the text for ground. I also added the color for bunny and plant.

Supplies that I used:

You may also like:

Related Posts Plugin for WordPress, Blogger...