Every Friday when I am FaceTime with my parents, I like do something in my craft room, like to cut paper, organize room, open package etc. This Friday was normal like before every week. I sat there and started to talk with my dad. After we exchanged all information about past week, we started to enter randomly talking. I began to look around my room to find what I could do today. I saw my packages.
It was a busy black Friday. I went to a lot of store to shopping. I didn't have time to open my online shopping package yet. One of my package was from Picket Fence Studios. They shipped my order so fast. I am glad I got two bonus their blending brushes.
Couple days ago, I played with my Brusho powder. I put it on regular cardstock and glossy paper. I like it on the glossy paper. So I thought I could use one to make this simple card with this pretty simple line girl.
I picked one girl and sentiment. I stamped them on the card. I got a mistake that stamp stick some color from background. You can see from girl's back. But I didn't want to waste my beautiful background. So I decided to continue my work.
I used the black and grey watercolor brushes to add the shadow for girl and extend the ground.
At the end, I sponged the light green ink all around the four edges. The white butterfly is free gift from my Waffle flower order last time.
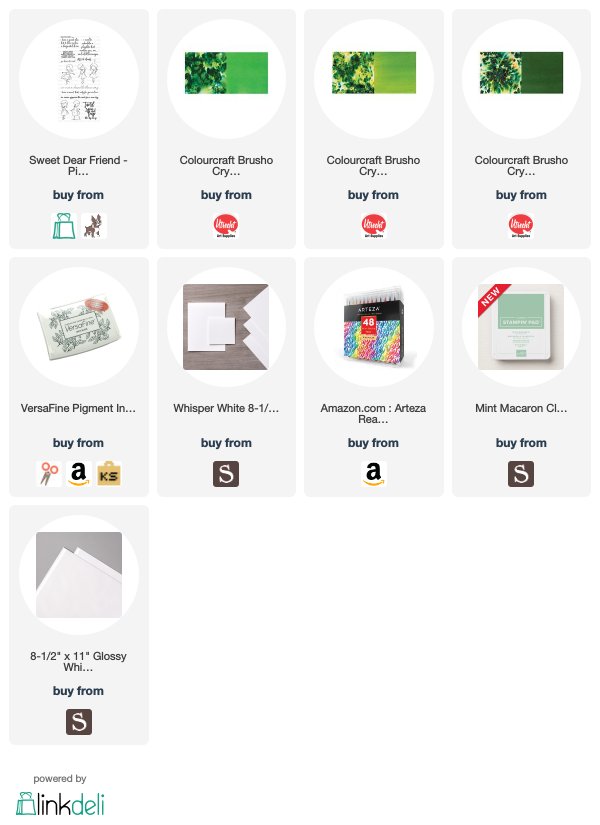
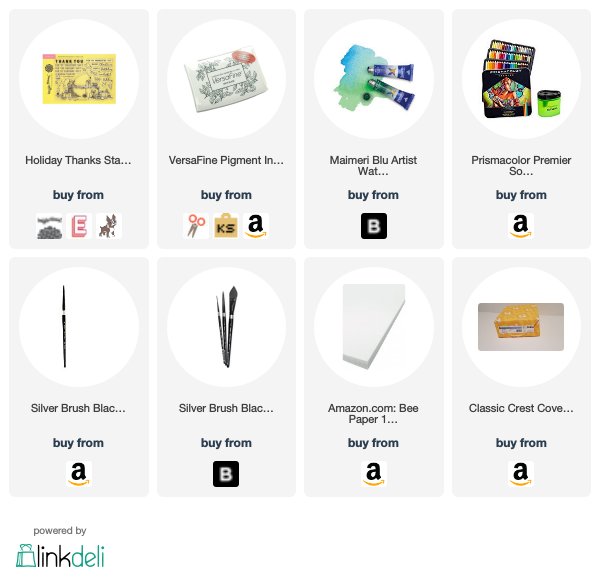
Supplies that I used: