Tuesday, October 30, 2018
Birthday Card by Enjoy Life stamp set
It's very enjoy to use the left pieces from other project. Today's card I made with the left over from the window die cut. The four rectangle pieces are from the window cut left.
I used the removable tape to stick those four pieces together on the copy paper. Then used the acrylic block to add the color on it until I liked them.
After dry, I stamped the plant on it. I also stamped the same image on the white card that I cut it to 4x5.25. Then I moved the four pieces of rectangle from copy paper and re-glued them on the white card. This time I need pay attention to make the plant matching together. It looks the same stamp once.
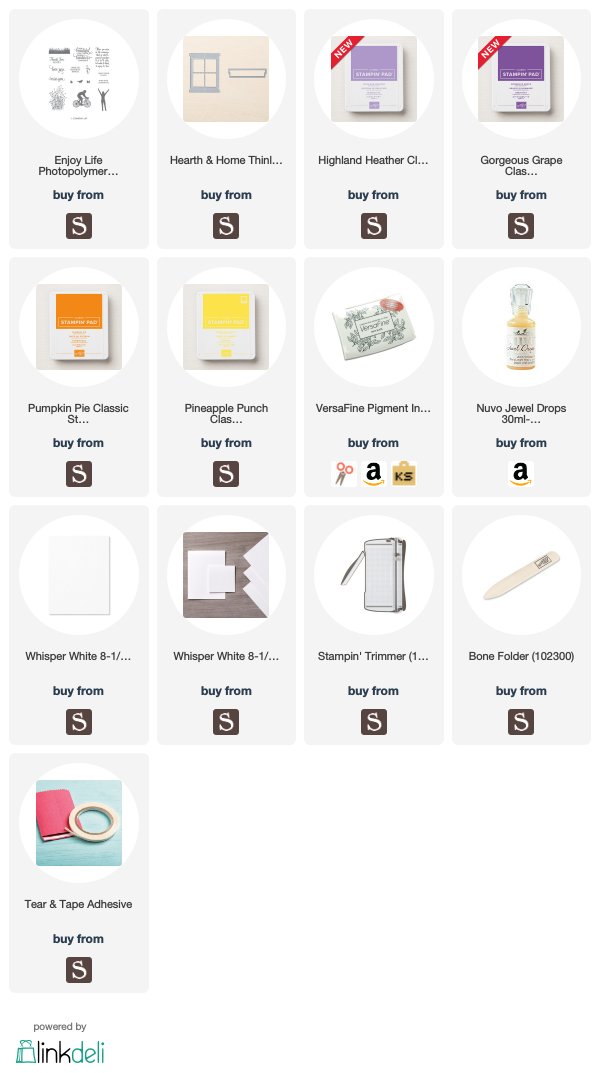
Supplies that I used:
Sunday, October 28, 2018
Tress
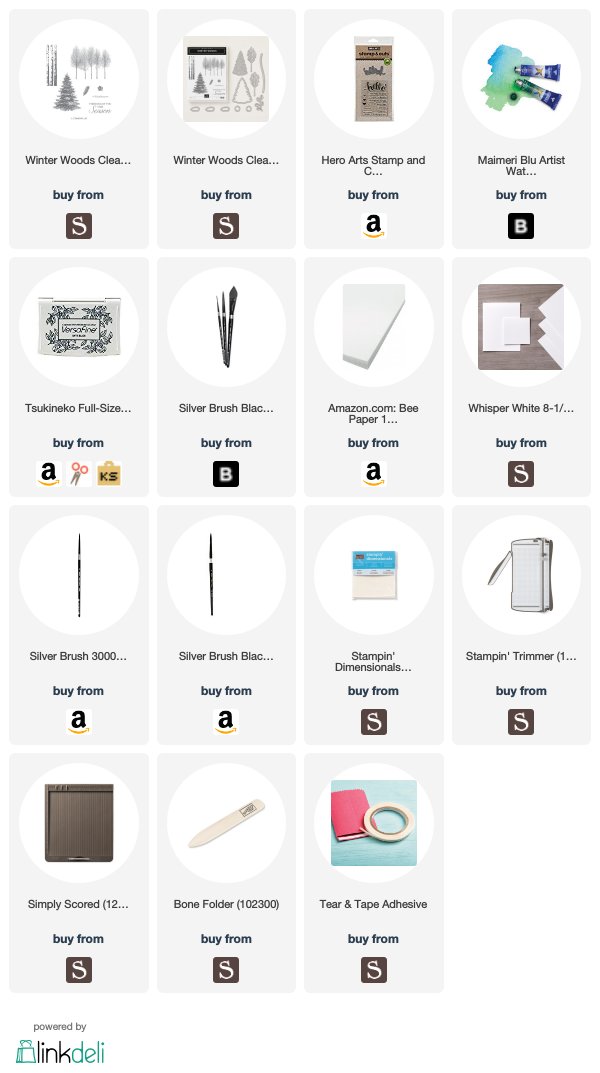
When I bought this winter woods stamp set, I thought I would a winter snow card. Also I saw demonstrators made a lot of beautiful winter cards.
Today when I sat there and played my beautiful MaieriBlu watercolor. Suddenly I got an idea to use those tree to make a spring or summer scene card.
I stamped the trees on the 100% cotton watercolor paper by VerserFine black ink. Then I taped the four edges by masking tape. I wet the area by clean water first. Following to add the colors what I wanted. I also drew the ground and grass.
The MaieriBlu watercolor I used: primary yellow, rww sienna, yellow ochre, golden ochre, prussian primary blue cyan, hooker's green sap green green earth, carbon black.
I die cut Hello that from Heroart.
Supplies that I used:
Thursday, October 25, 2018
Dropping by to say HI from Hello Bluebird
From the snowflake winter card, I was back to fall card. This year fall came much earlier than I thought. Leaves are still green on the trees. But temperature dropped much lower that normal.
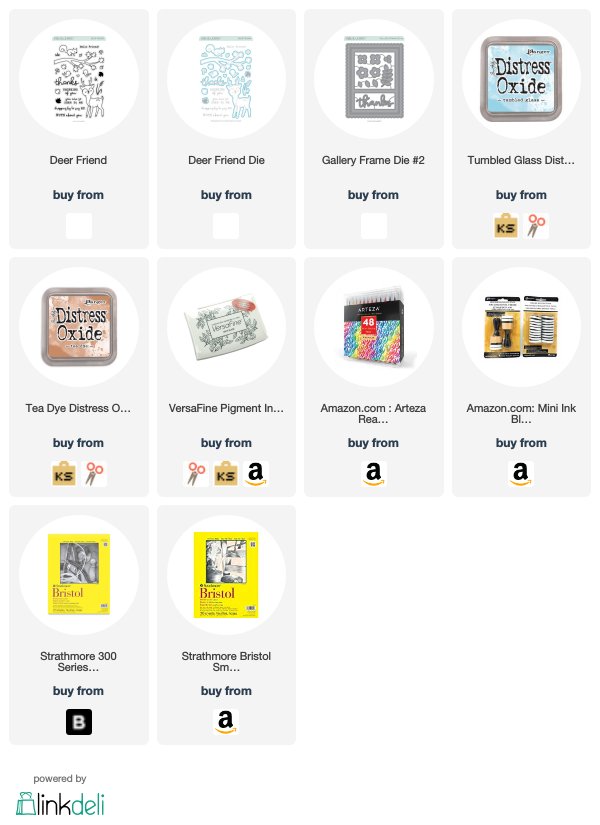
I have this cute stamp set from Hello Bluebird. The deer is so adorable. I decided to make a fall card today.
I stamped the every image on the white card and colored it by waterbase color brush.
I chose the Bristol white paper to make the background. Bristol paper is great for blending Distress Oxide Ink. At beginning, I chose the three blue colors for my sky. But finally I only used one. I wanted my sky clear. I used the tumbled glass to blend the sky by heavy hand to light hand. This way to make my sky from blue to white.
For the ground, I sponged the tea dye Distress Oxide ink.
I also die cut the frame and used the foam strip to make dimension.
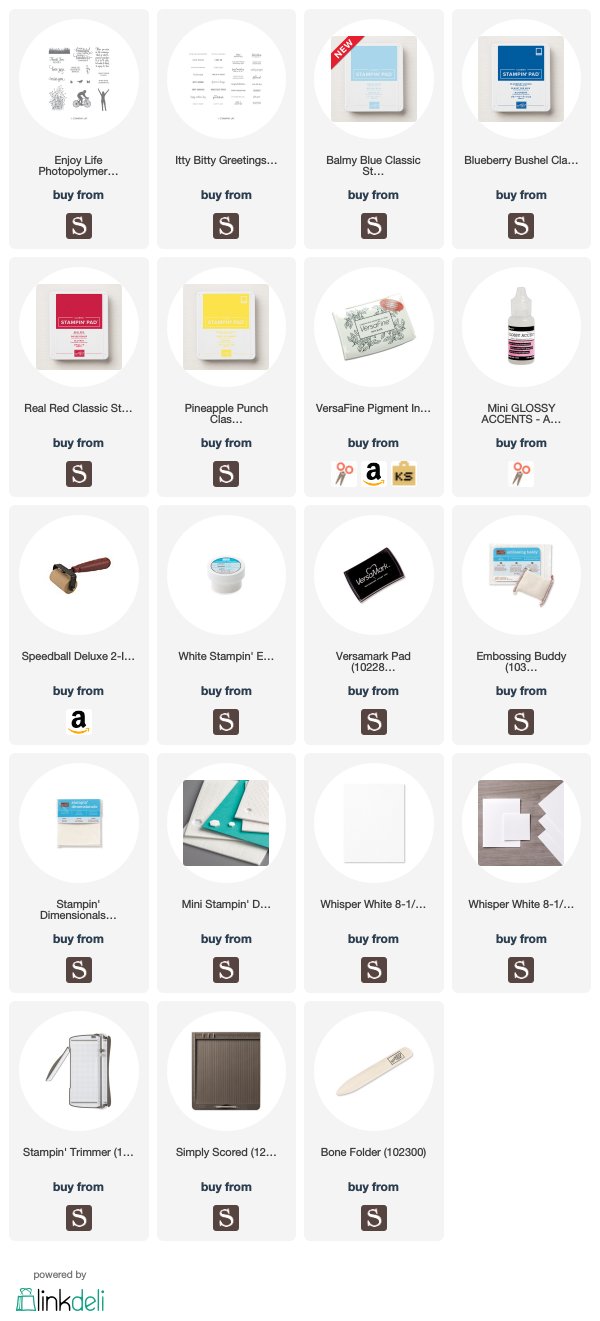
Supplies that I used:
Tuesday, October 23, 2018
Learning to fly
I love to see the mixed media video and pictures. But I felt it so hard for me. My Facebook group has ATCoin swaps every month. I only joined once because I was afraid I could not do it. I have totally no idea about this.
It’s rainy day and very dark outside. I sat down and looked at my butterfly stamp, I thought maybe my butterfly can fly on my paper.
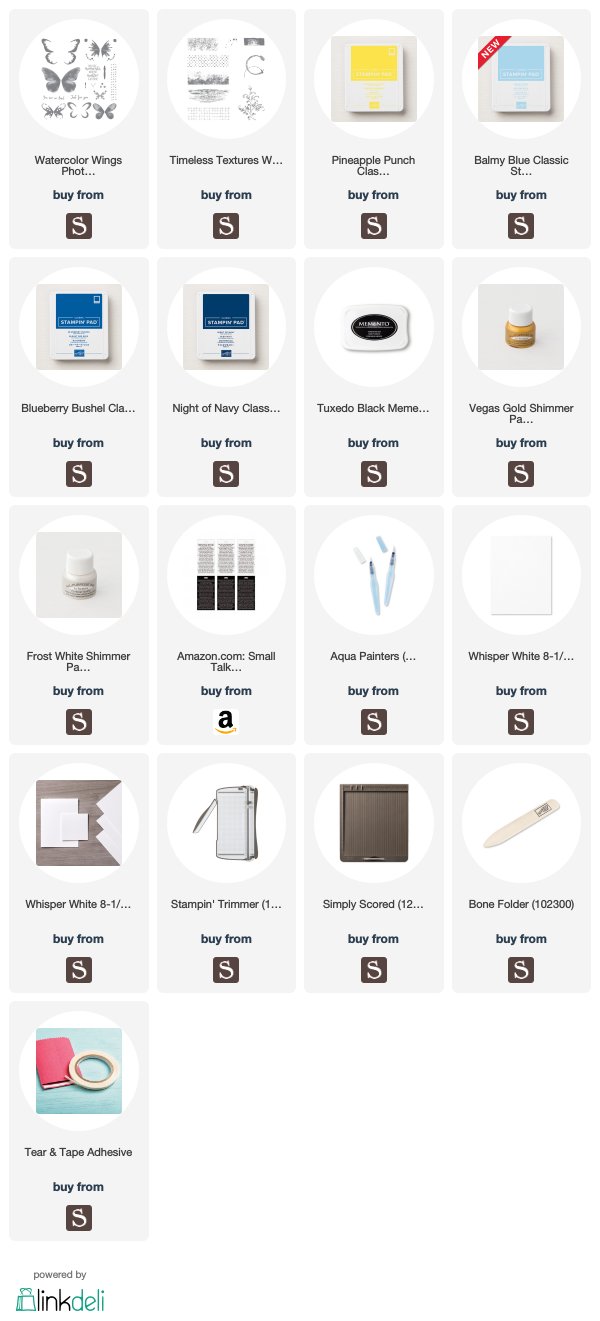
I stamped butterfly on white cardstock. I also stamped the butterfly outline on the masking paper. I fussy cut it and covered it on my butterfly. I started stamping the background texture on the card.
After took off the masking paper, I splashed some silver and gold colors on the card. This way added the shimmer not only the background but also on the body of butterfly. Love the shine butterfly.
I chose the sentiment from Ranger small sticker book.
It’s not that difficult to make this card. I was satisfied the result.
Supplies that I used:
Sunday, October 21, 2018
Sunset scene
I really like to make scene card. Sunset is easy way to make, but it shows very bright and beautiful.
I normally cut my white card panel at A2 size at the beginning. After I was done all things, I like to trim 1/8" each side. Then I will get the white border on my final card.
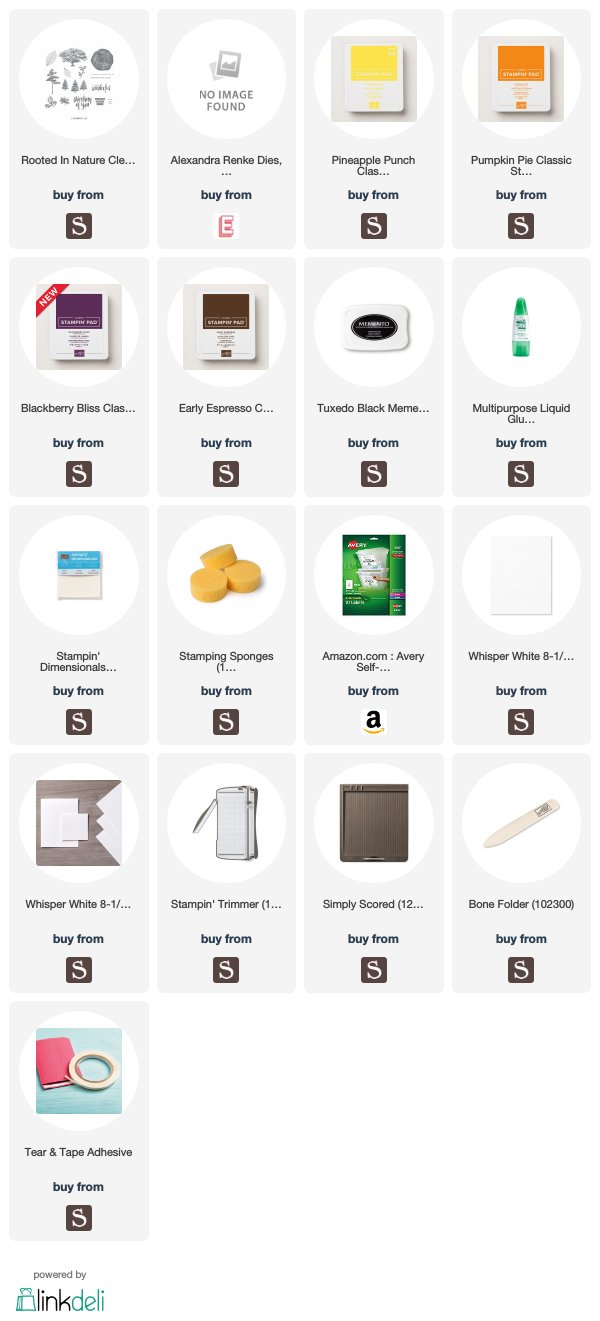
Sponges is my first choice for blending the scene background. I used the pineapple punch, pumpkin pie, blackberry bliss and early espresso ink pads. I started pineapple punch for up 2/3 card. And covered it by pumpkin pie. Then randomly added the blackberry bliss for burning cloud.
I used the tree on the card that I liked the position. Then I cut the copy slope for the hill and covered it under tree to sponge the ground by early espresso. Finally I added the black ink from bottom to up for the ground.
I felt the little blank of the right lower corner. So I glued the die cut beautiful sentiment on it.
Supplies that I used:
Thursday, October 18, 2018
Snowflake Wishes
We have all week rain and cold weather here. It's Texas! It's October! The temperature dropped to 45C some days. Heater was on. I felt winter was coming and skip fall to make winter card.
I bought this Beautiful Blizzard Bundle before I went back to China. I really love this snowflake die. I can do it many ways.
At first, I dropped the two blue colors reinker directly on the watercolor cardstock. Then sprayed water on it. Let it dry to make the snowflake background.
Today I die cut the all panel snowflakes and glued all snowflake back on the right position. After all snowflakes dry on the card, I sprayed the shimmer on the all panel. It doesn't show very well on the picture, but very pretty in actul.
I die cut the circle by MFT stitched circle die twice. I cut one for the snow slope with the lower part stitch. And I stamped the house, tree and stars on the circle. I put liquid glue on the slope and front house, then added glitter for snow on the hill.
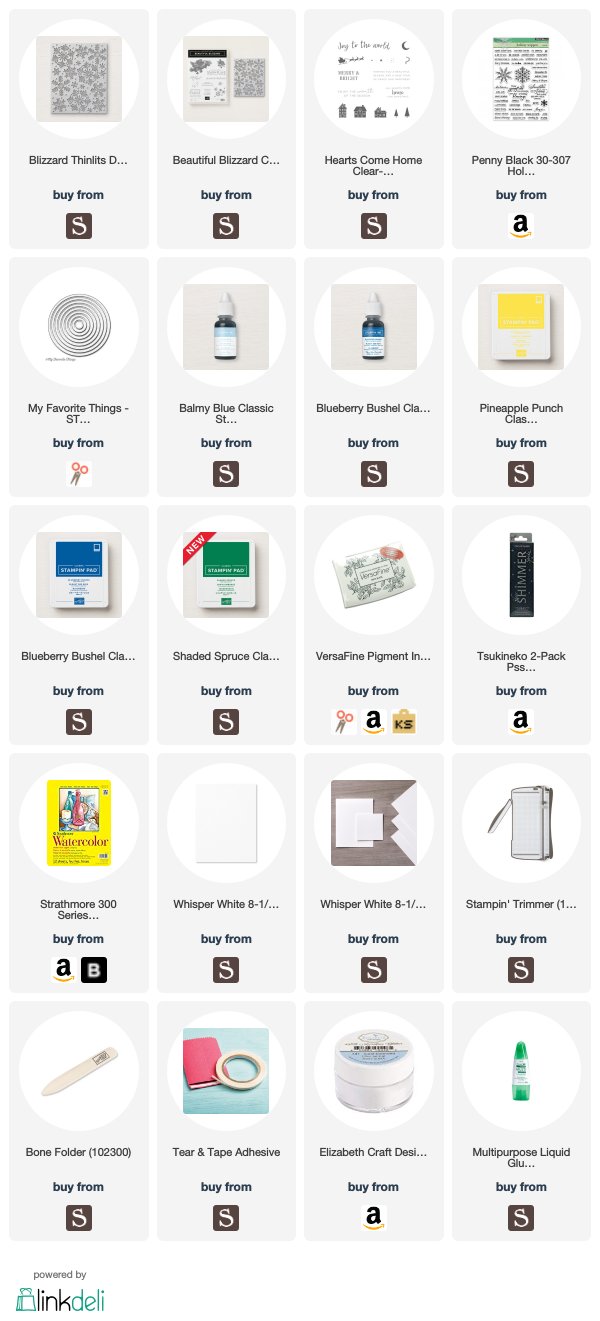
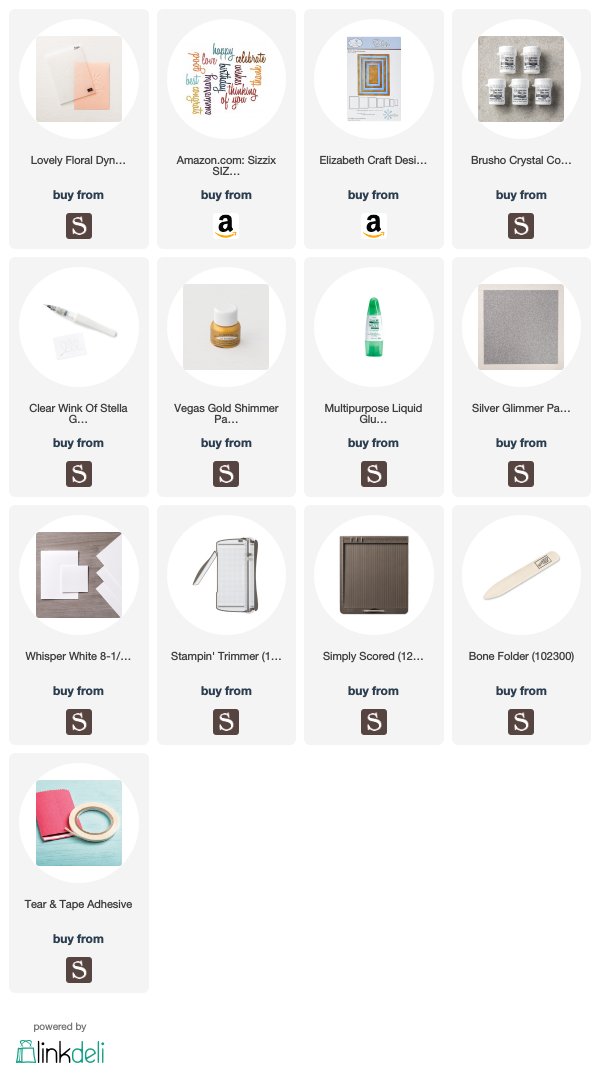
Supplies that I used:
Wednesday, October 17, 2018
Halloween card by Sweet November Digital Stamp
Amy Young design some cute digital stamps that sell on 7kidscraftstore.com. I arranged the three digital stamps on iPad app. I erased the head line on the ghost that I wanted the ghost board not very clear. Then I printed it on the 80lb cardstock.
I used the Prismacolor Pencils to color all images. I drew the road at front of fence. I also colored the sky and grass. But I didn't like that result. Then I sponged the blue and green color on it.
Finally I felt the road was too long. I need add something to cover it. I sponged the green color on the white cardstock, then die cut it by grass border die.
I also used the Lawn Fawn glow in dark embossing powder to emboss the sentiment BOO!
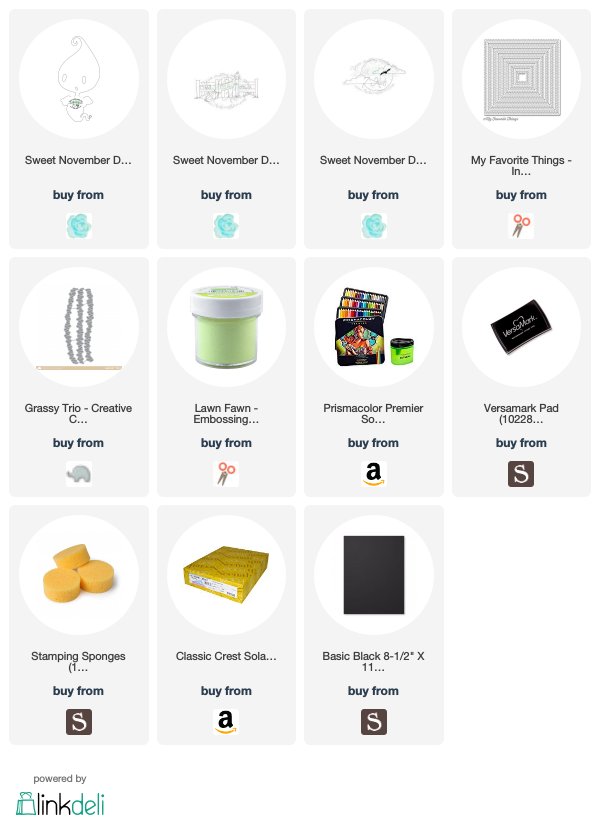
Supplies that I used:
Tuesday, October 16, 2018
Beautiful Bloom
Hello, my craft friends!
Ellen Huston has this so beautiful flower stamp. I love it so much. I tried to watercolor it this time.
I stamped the flower by using my new Ink 3 no line ink pad. It's first time for me to use this ink 3. I still need use to it. Also I tried the new M. Graham watercolor tube Jewel Tone. It's lovely colors.
I die cut the beautiful sentiment on black cardstock. I chose the deep green card that from my stash for the behind the white panel.
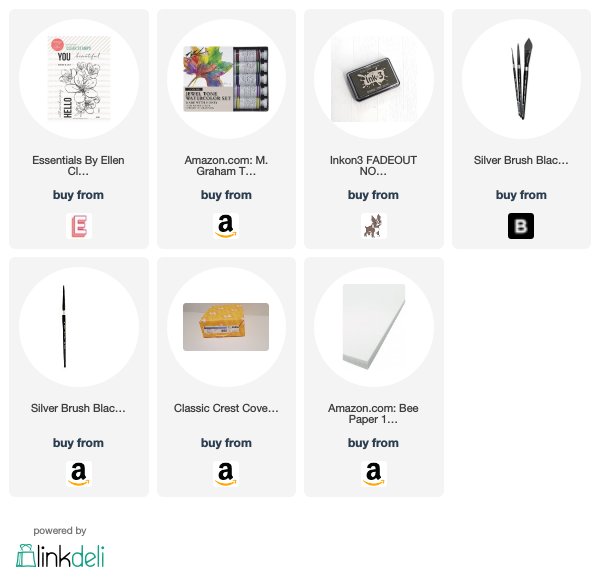
Supplies that I used:
Saturday, October 13, 2018
A Little Hello and Thanks all of you!
A little hello, Friends! I made a bright hello card today. I wanted to see hello everybody and Thanks all of you for praying for my mom and all my family.
I taped the edges first. Then I chose the brayer to make the background by two ink colors: Balmy Blue and Blueberry Bushel. After that I embossed the grass on the panel by white embossing powder.
At the beginning I stamped the butterfly and chickens. I felt those were too dark. I decided to stamp them on other white card again and fussy cut them out. I glued them on the right position on the card. I also added the glossy accents on the butterfly.
Supplies that I used:
Thursday, October 11, 2018
Love card
I made this embossing flower card to a friend. Last month she got married and had a wedding in her hometown in China. I know I was late, but I still want to give them a red bag that Chinese tradition.
I chose the bright red color for my card. Tradition Chinese love the red color for wedding or happy things. Also gold and silver mean fortune. So those three colors are all in my card and small red envelop with lucky money.
I used the stitched the rectangle frame die to cut the panel first. Then I added the bright red and tiny orange Brusho color powder on the panel. And added the water. After dry I added some color or water to card until I was satisfied the result. Finally I splashed the gold color on it.
After totally dry, I embossed the flower in the center of card. I embossing two times to make sure the flower show enough because I used the watercolor paper that was thick.
I also die cut the love sentiment on the silver glimmer cardstock. I glued some sequins and diamond on the card.
On the cardbase, I tape the colorful shinny washi tape(from last year holiday left) on the edge to add texture for my design. In person, it is very pretty.
I made the small red envelop with lucky money attached inside the card.
Supplies that I used:
Tuesday, October 9, 2018
Simple card by waterfront stamp set
Hello, my craft friends! I come back and I really miss all of you!
Last three weeks was so hard for me. I received call that knew my mom went into hospital with critical condition. I flied back to China second day. After six days she survived from her third time stroke. But she can't speak, move and even she doesn't know me and anyone. She only can move her eyeball. Nothing else. I felt so sad. We found the hospital that take care of the older people like her condition. She will move to there next week.
After I flied back home last week, my daughter started heavy cold and missed two days school. Then she gave it to me. I lay on bed three day until yesterday I was getting much better.
I made this card before I was back to China. I have no time to post it. I thought today is good day to post it.
This was a very simple card. I used the acrylic with mountain stamp and stamp many times. I used first, second and third generation stamp technique today.
Then I used the second and third generation stamped the water and mountain shadow.
For all of card I only used the one ink color- Blueberry Bushel
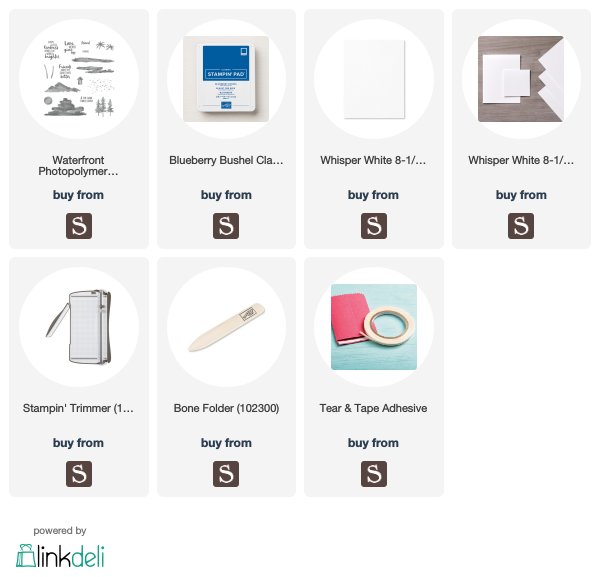
Supplies that I used:
Subscribe to:
Posts (Atom)