Tuesday, July 31, 2018

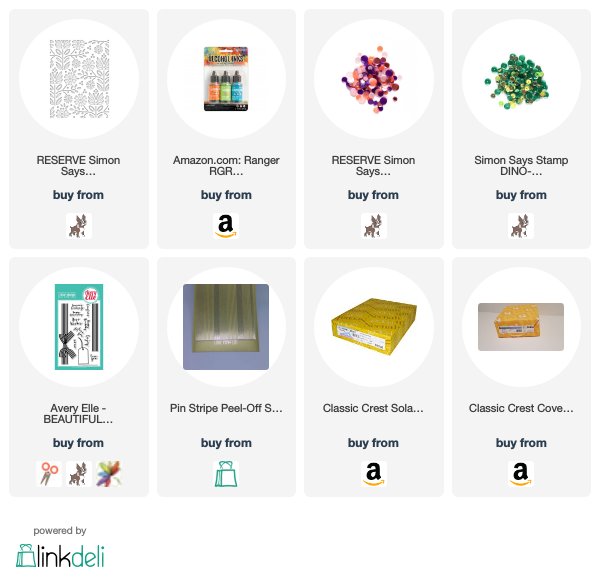
Birthday card - Folk Dance die cut background by SSS


I was so excited about Simon Says Stamp new release. I submitted my order at the first time. Today I received it. This Folk Dance die cut panel is so pretty and delicate. I can't wait to make a card using it.

I had a panel made by alcohol ink couple days ago. I will say it failed because I didn't blend well. But the color was so beautiful. I didn't through it. I thought I could keep it for something. Today I try it behind of folk dance die cut. It showed very nice.

I added the gold line peel off at side of flora die cut.  Then I made this quick birthday card.

Supplies that I used:

Monday, July 30, 2018

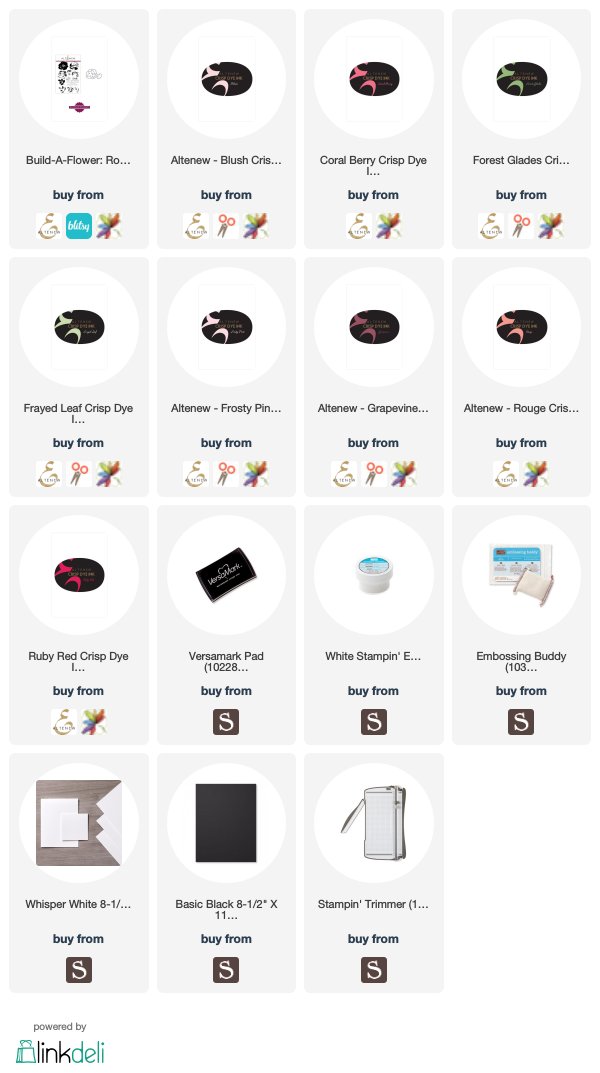
Beautiful Rose from Altenew

I just bought this beautiful rose stamp set. I am not good at the layering stamp. But this set abstracted my eye. I can't pass it because I love rose. I planted over 30 different rosees in my backyard.

This is simple card but I spent a little more time on last two pieces of  rose center stamp to make rose like real. I used the large rose base make a mask on masking paper and fussy cut out. After I finishing rose, I cover it by mask that I made before and started to stamp leaves.

I chose the sentiment from the same stamp set.

Supplies that I used:

Friday, July 27, 2018

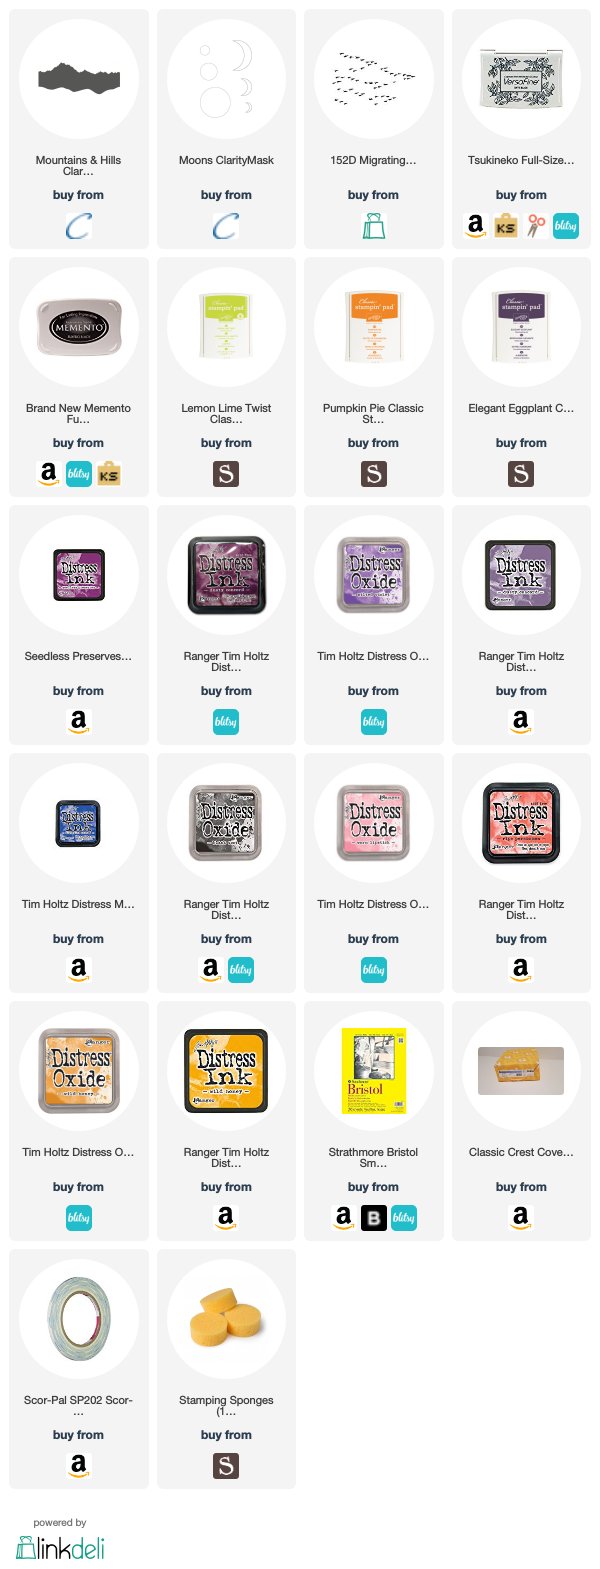
Sunset

I tried to use the Bristol paper to make a scene card. Bristol paper is very easy for blending. I mixed many brands ink to my card. But I can't get the enough deep black what I wanted. Anyway, the result was satisfied.

I used the Clarity Stamp's mask to create mountains and sun. I sponged mountain first. Then covered it and made the sky. I covered the sun before sponging sky. After I finished sky, I took of the sun masking paper and added the red, yellow and orange colors on  the sun.

At the end, I stamped the birds on it.

Supplies that I used:

Wednesday, July 25, 2018

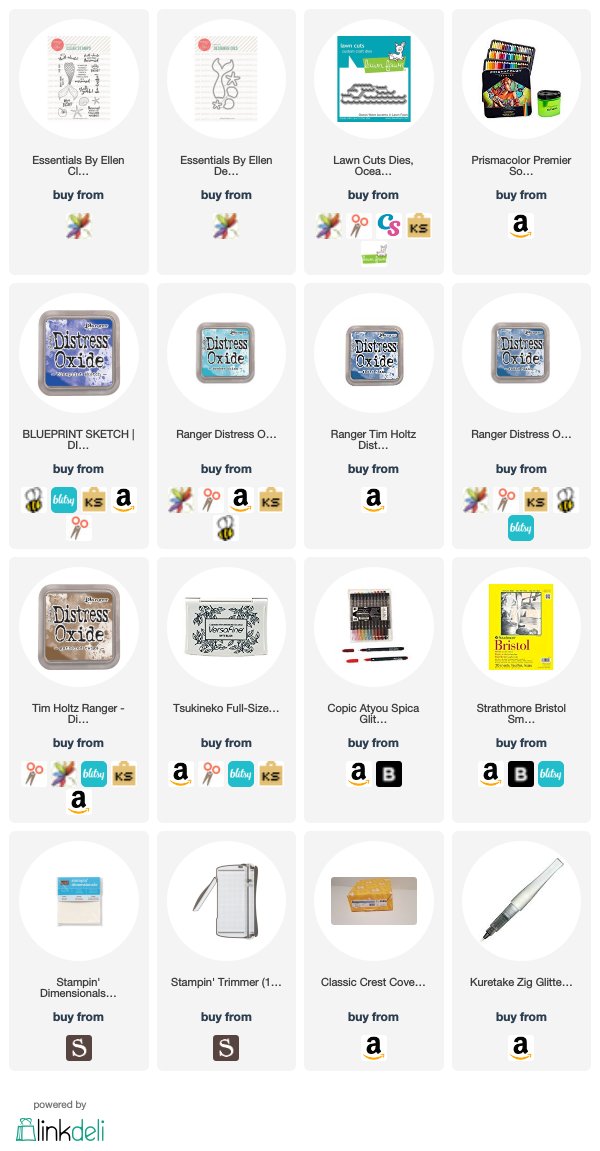
Mermaid Kisses and Starfish wishes


I had  an idea for this mermaid tail card in my mind when I was in bed. After I got up, I went upstairs and started to make this card. Very enjoy this quite craft time in the hot hot hot summer.

I colored the mermaid tail and starfishes by Prismacolor color pencils. Then die cut them out.

For background, I chose the Bristol paper and Distress Oxide Inks. I tore the copy paper for mask to make sand first. Then I sponged the sky from top. I used the purple masking tape to cover the white panel and make the sea. Bristol paper is great pair with Distress Oxide ink. It's very easy to blend.

I used the Lawn Fawn small wave die to cut a wave line and inserted the mermaid tail into the hole. I also added the foam square behind of the top of tail to make dimension.

Supplies that I used:

Monday, July 23, 2018

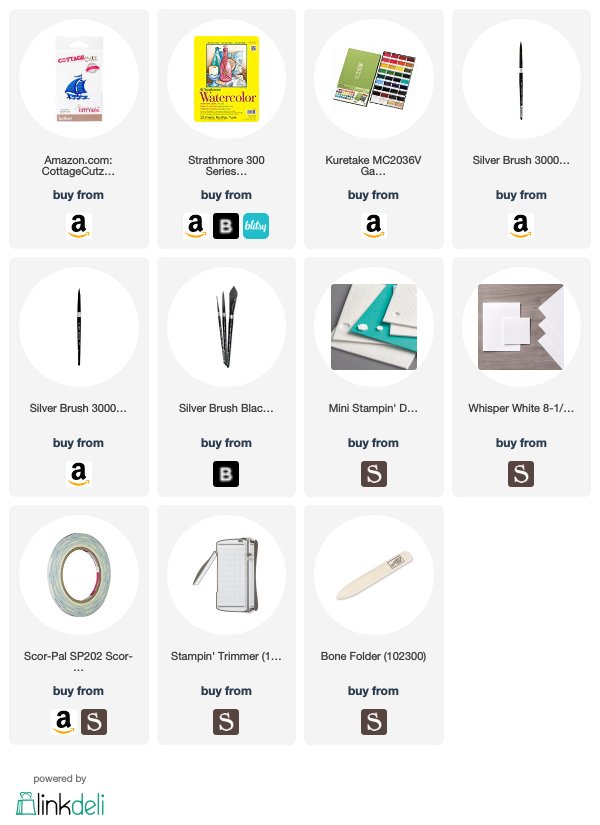
Sailing through the lightning storm

After I watched artist Ekaterina Sminova's watercolor YouTube video: Lightning Storm. I really wanted  to try it.  I am just started to learn watercolor from YouTube video. Really hope I can learn how to control to use brushes.

I followed the step by step from Ekaterina. She explained and showed very clear on her video. But a lot of time I can't control well my brush to get the result what I wanted. I really need more practice.

After I made this lightning storm over the sea, I was not very satisfied but I don't want to waste my very first try. I decided add a sailing boat on it to grab eye ball for not only focusing  on the background.

Supplies that I used:

Thursday, July 19, 2018

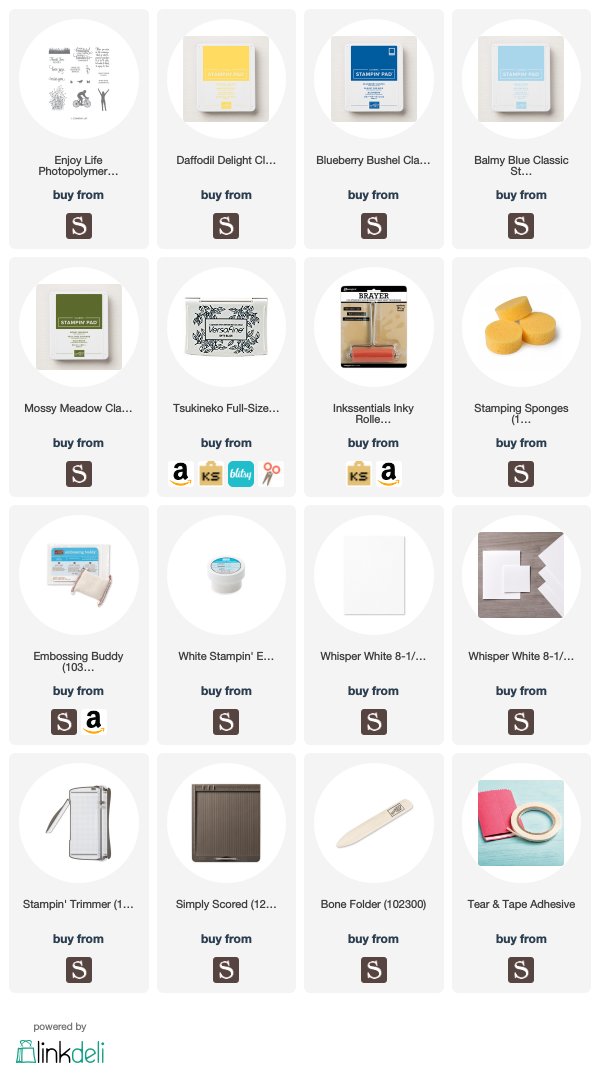
It's a Beautiful Day

When I saw this Enjoy Life stamp on April, I really wanted it right away. It's my cup of tea. But after I received it month ago, I didn't touch it. I didn't know why. No reason. Until yesterday I decided to use it.

Normally I like to sponged the colors on card for making scene card. But this time I had a partial change. For making sky, I used brayer instead of sponger. I rolled the brayer into white panel from top to center. Repeat many times later, I got this sky. Looks like has a lot morning star in the sky or sky of before sunrise. I was very satisfied this result.

I tore copy paper to make mountains. I did two layers mountains.  This time I used sponger.Then I stamped the grass border stamp on the bottom of panel. I added the long grass flower and stamped short grass border again.

I embossed the sentiment by white embossing powder.

Supplies that I used:

Tuesday, July 17, 2018

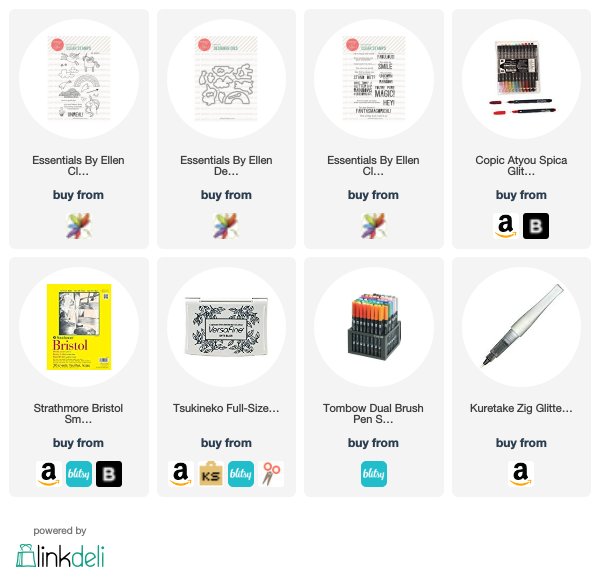
You're the Unicorn to my Rainbow

Ellen Huston's new release is so beautiful. Love the unicorn stamp set. In my mind, unicorn flys in the sky. So I decided to make this card today.

I chose the Bristol paper to make this card. Bristol paper is very smooth and easy to blend. I used the MFT large cloud to sponge the sky.

I colored the unicorn's hair by glitter pens and waterbase brush pens to rainbow. I die cut them out by using matching dies.

Supplies that I used:

Monday, July 16, 2018

Claritystamp Fresh Cut Birthday Card


I just received my order from UK. I loved the new Claritystamp Fresh cut, Very beautiful, delicate and high quality.  It's very easy to cut out every detail. No like other detail dies, I don't have any issue with this die. I am so happy with it.

I directly die cut this Mountain Ash Aperture die on the white cardbase. I used 110lb Nennah Crest Classic Solar White Cardstock. And stamped the birthday sentiment on the top part of card front.

For background, I sprayed the Lindy's Gang Stamp sprays on the watercolor panel. Those sprays come with the shimmer. It's very beautiful in person. My camera didn't catch it.

After this panel dry, I glued it behind of the die cut window.  I added some sequins and Nuvo Jewel drop on the card.  I also used the wet brush to tap the background color to light color some leaves at center. 

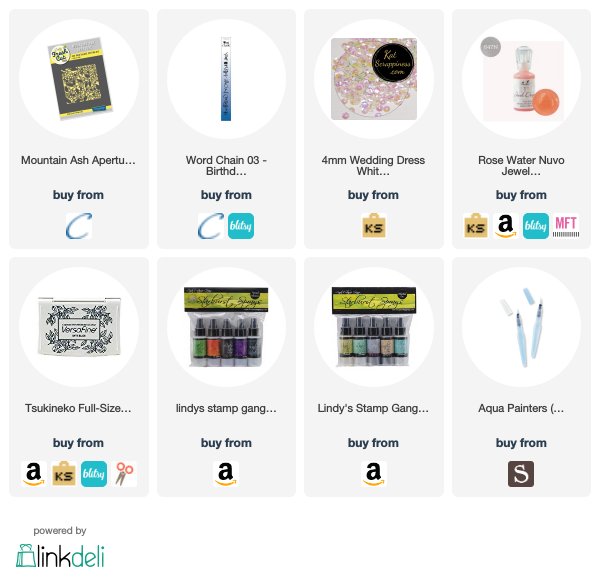
Supplies that I used:

Thursday, July 12, 2018

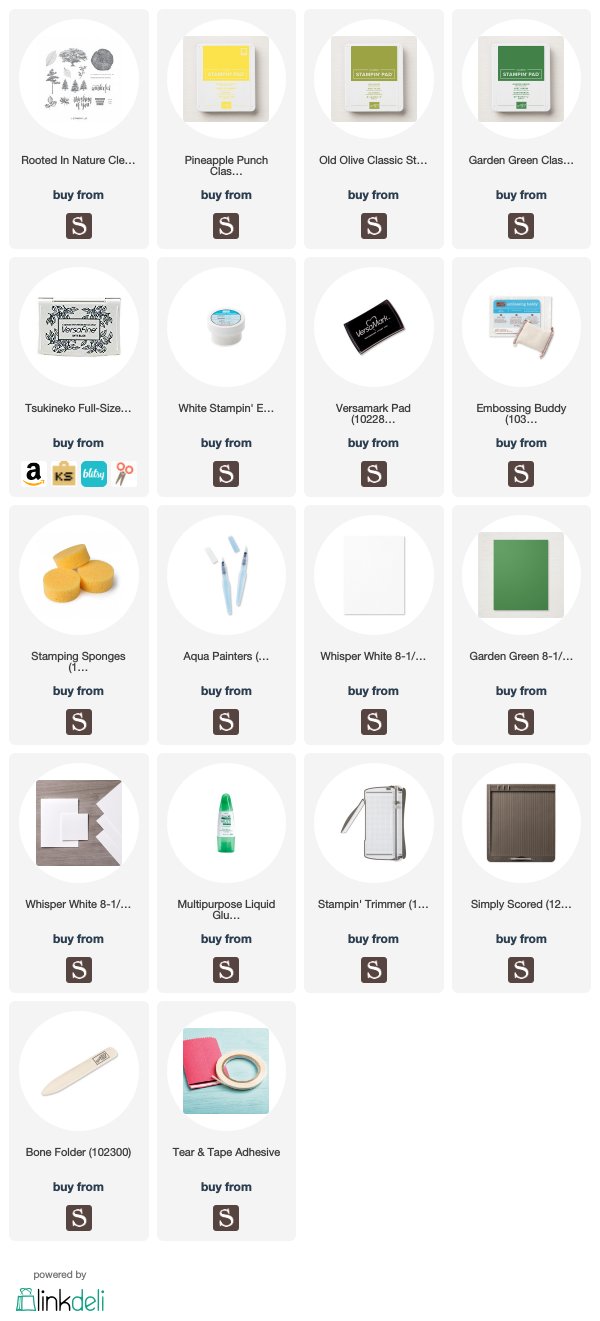
Thinking of You by Rooted in Nature


I stay cool at home and enjoy to making cards and watching soccer World Cup 2018. Today I used this Rooted in Nature stamp to make my simple card.

I stamped the leaves and embossed them. Then I sponged the old olive and garden green from the lower right corner to center. At the center I used the light hand to sponged the pineapple punch.

After all, I buffed the leaves by dry towel to bright white embossing line. And I used the brush to added the garden green to leaves like the watercolor. It made the leaves pop up.

I chose the large sentiment on the card and stamped by black ink. I also added the garden green cardstock  under the white panel to make a frame.

Supplies that I used:

Tuesday, July 10, 2018

Giraffe miss you card

Giraffe misseyou. When I looked at stamped set, I got this idea. I thought it was fun. So I turned it to a card.

I stamped the giraffe and colored it by blender markers and die cut it out. I also sponged some green color on the white cardstock and die cut some small tree brunches. Definitely, I die cut the window.

I chose the grey cardstock be my cardbase. And started to install every pieces on the card. Behind the window, I used the foam tape to add dimension and glued the other things.

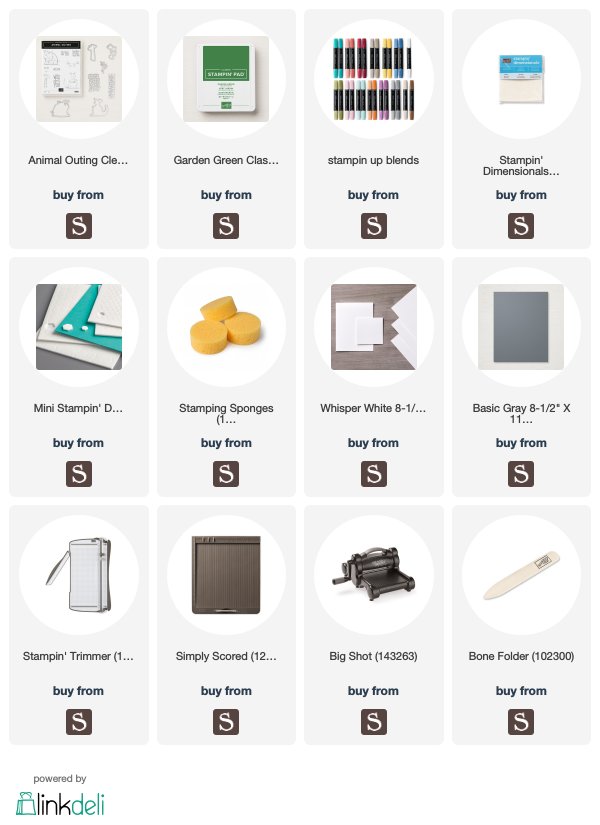
Supplies that I used:

Monday, July 9, 2018

Amazing Embossed Flower

It's still really hot outside today after a week long over 100F. I don't want go anywhere outside, even in the pool. I stay in the room and enjoy the cool feel from air conditioning. Feel great. It's good time to make a card. It's my favorite thing.

I checked the my Stampin Up products basket. I thought I can use this flower embossing folder to make 3D flower and colored it. En, I felt it was a good idea.

I cut a white card panel that a little smaller that cardbase. So I can get the dark edge. Then I embossed the flower on this white panel.

I decided to use the Stampin Up watercolor pencils and ink pad to color those flowers. I didn't used watercolor pencils directly on the card. However, I used the wet watercolor brush tap on the top of watercolor pencil. Then colored the flowers. This watercolor pencil set only has 12 colors. So I added some colors from ink pad. After flowers dry, I also colored the background by light blue.

At the end, I die cut sentiment " Amazing" on the black cardstock and used the gold shimmer pen on it. But picture didn't catch it. In real one it's very pretty.

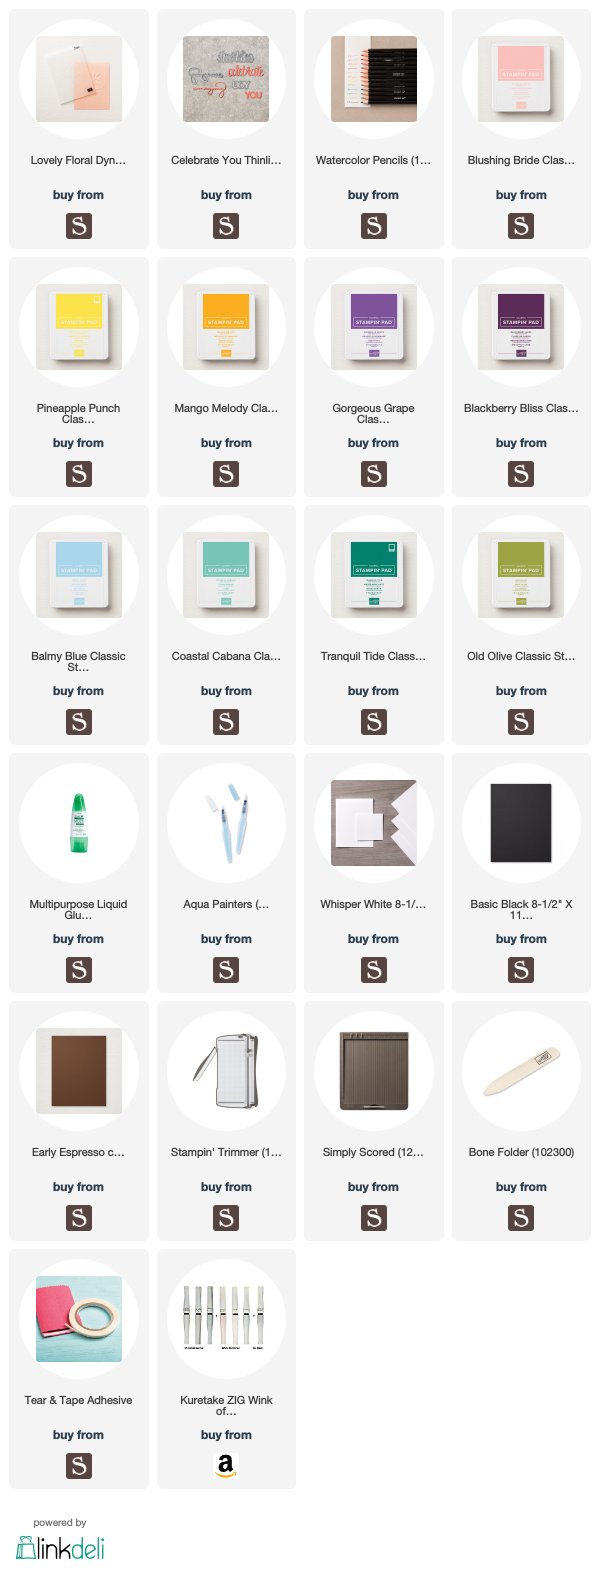
Supplies that I used:

Saturday, July 7, 2018

Undersea Adventure

This week every day is over 100F here. I stay at cool inside all day. I am lazy to go to swim pool but I image around me about the deep blue sea. I thought it's great time to make a lot of sea and fish cards. So this card was made today.

I spent quite time on this card. One is I watched the 2018 World Cup (soccer) when I made card. I got so slow. Another reason is I used the different fine glitters to make sand, tiny fishes, coral and sea grass. That's took me a lot of time.

I  sponged the blue on the card first. Then I die cut the group fish, coral and sea grass on the card. I covered the double side sheet on the behind fish first. Then I spread the navy blue glitter on it and polished them. Then repeat the same process for coral and sea grass. One time did one color.

After all, I cut some double side sheet curve to stick the bottom card to make sand by sand color glitter. And polished it.

I also die cut some sea grass and coral out. And colored them by blender pen. I used the leftover tiny fishes to glue on the card too. After I stamped the sentiment, I still felt to plain for my card. I really need something pop up. I found this long time ago retired wood mount fish stamp from my stash. I used the bright orange color stamp this fish on the white cardstock and fussy cut it out. I also added the light grey color on the strip and black eye.

I die cut the white frame for my card and used the thin foam strip to mount it on the card. And I installed the everything on it.

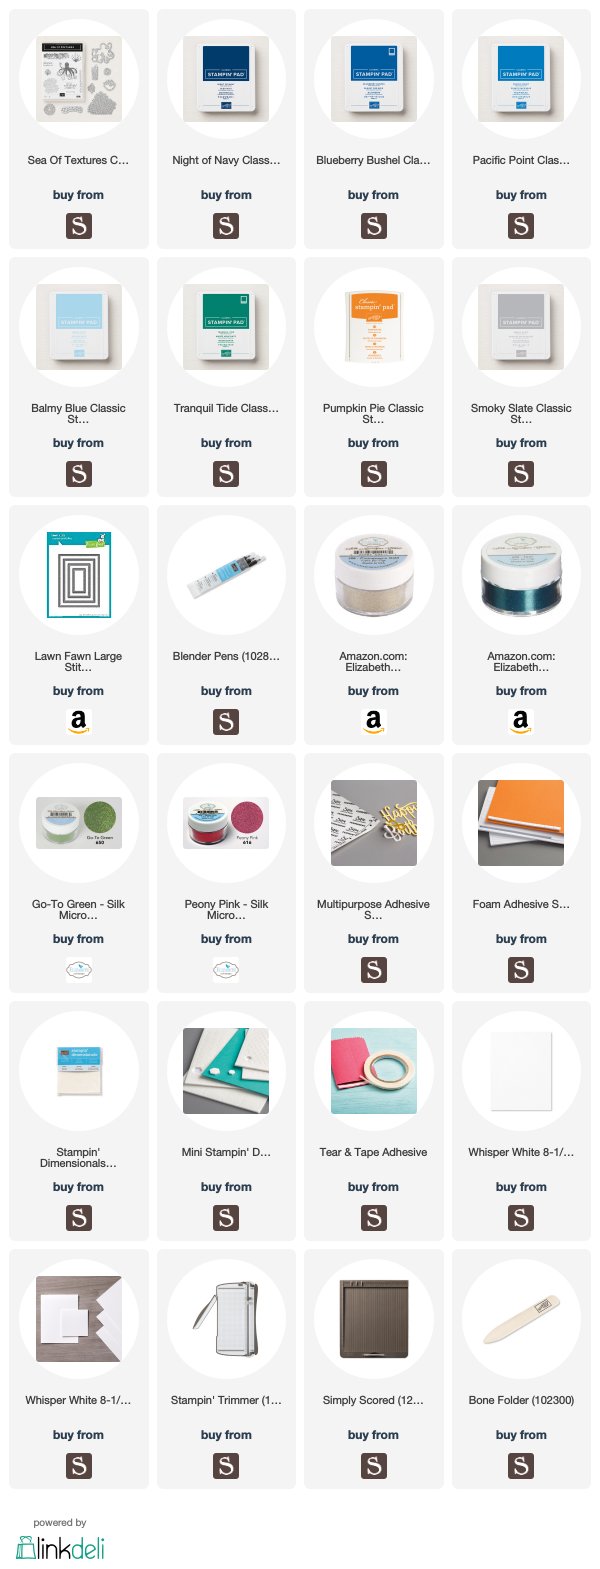
Supplies that I used:
Thursday, July 5, 2018

Sweetpeas Thank you card


I really like this Altenew Sweatest Peas stamp set. I decided to make another card using this stamp. 

I stamped the flower on the heavy weight watercolor paper and used the color brusho to the watercolor. I put the color powder into the pan and added water to become the water color. After dry, I cut it out. 

I also put some purple, green and yellow color brusho powder directly on the wet panel. And sprayed the more water on it to make the background. 

This is simple card. After everything dry, I stamped the sentiment and glue the flower on the card. I also added some sequin and jewel drops on the card. 

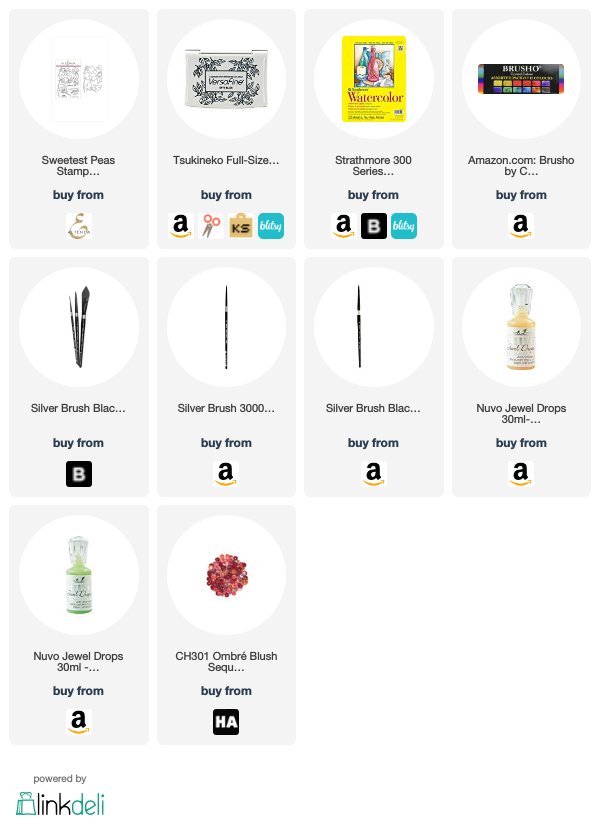
Supplies that I sued: 
Card base was bought from local Michael's. It's 110lb heavy weight cardstock.

Monday, July 2, 2018

In the Park

I with my daughter went to Hobby Lobby for her last school project on the weekend. I found this grunge tree stencil by Sheena. It's 7x7 size. I wanted to make a scene using this stencil.

I touched the stencil on the white cardstock by masking paper. I used the sponge dauber to add the colors on the stencil. Then I used the Tombow marker pen the draw the tree truck.

I brushed the background, then put stencil back the same position to add one more layer color. Finally I stamped the images on the background.

I add the black cardstock behind the panel and mounted on the 8x8 canvas panel.

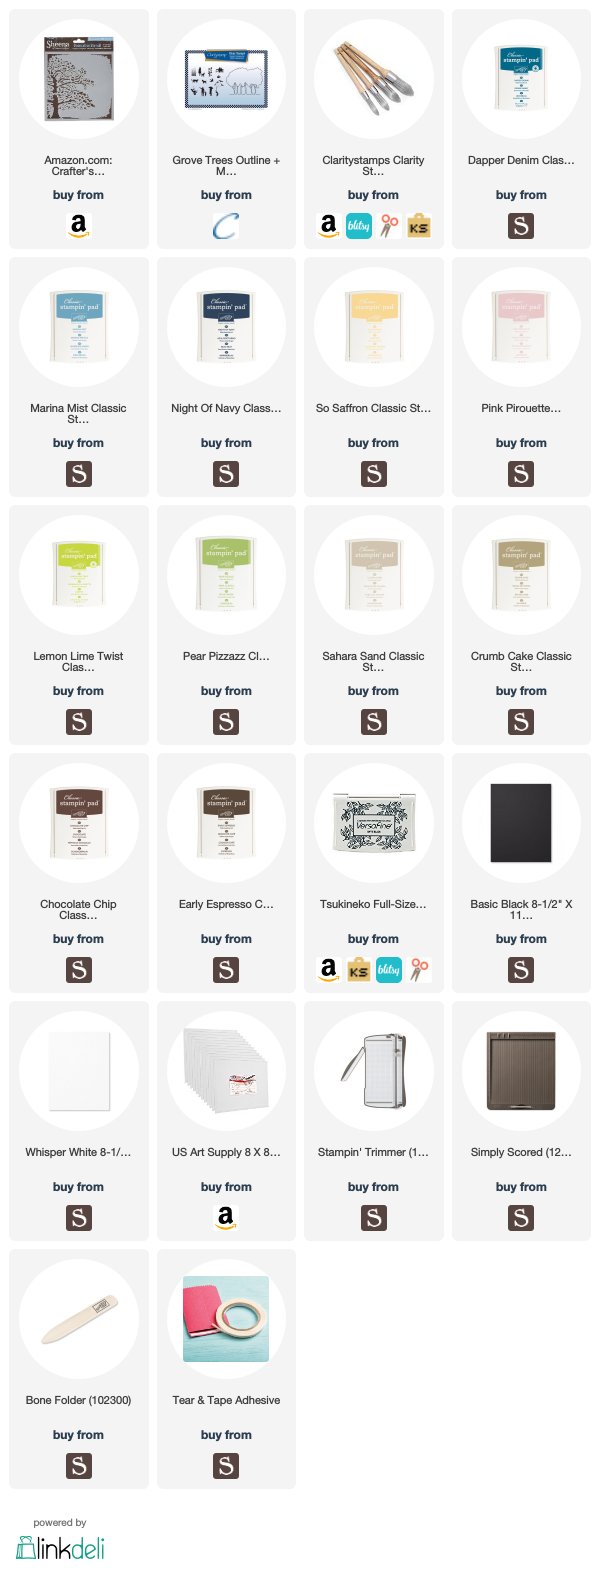
Supplies that I used:

You may also like:

Related Posts Plugin for WordPress, Blogger...