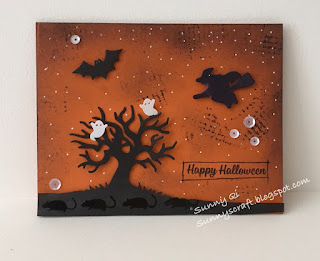
Tomorrow is Halloween. This is my last Halloween card series. I wanted to make a spooky feeling.
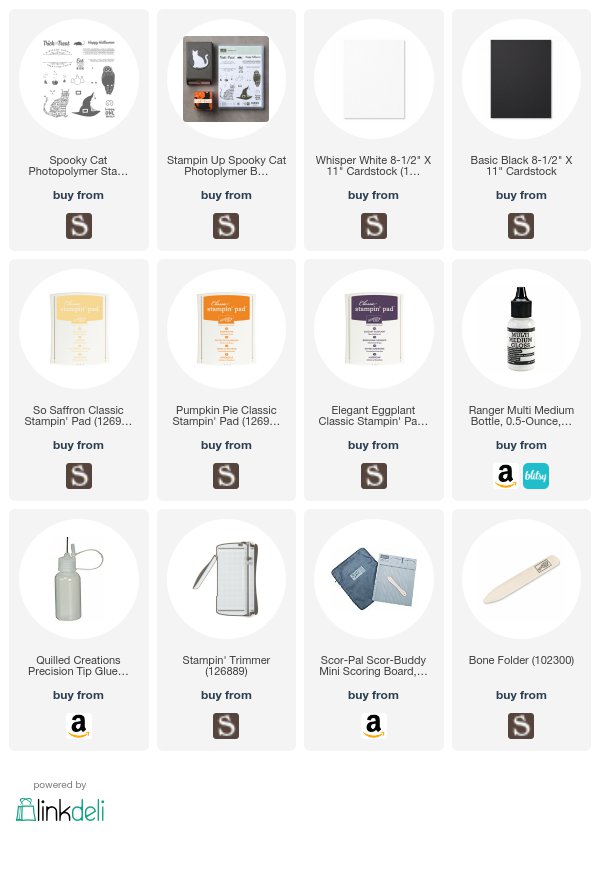
I die cut the bare tree and bat on the black cardstock and witch on the white cardstock. I added the deep purple color on the witch.
I stamped the mice under the bare tree by black ink. I sponged the black color to all pumpkin pie color cardbase.
I used the foam square to make bare tree dimension. I also glue the tiny ghost sequins on the tree and I added the white gel pen dots on the card.
This is simple card. The die set is retired Stampin Up 2016 dies. Sentiment and mice are from this year new Stampin Up Spooky cat stamp set.
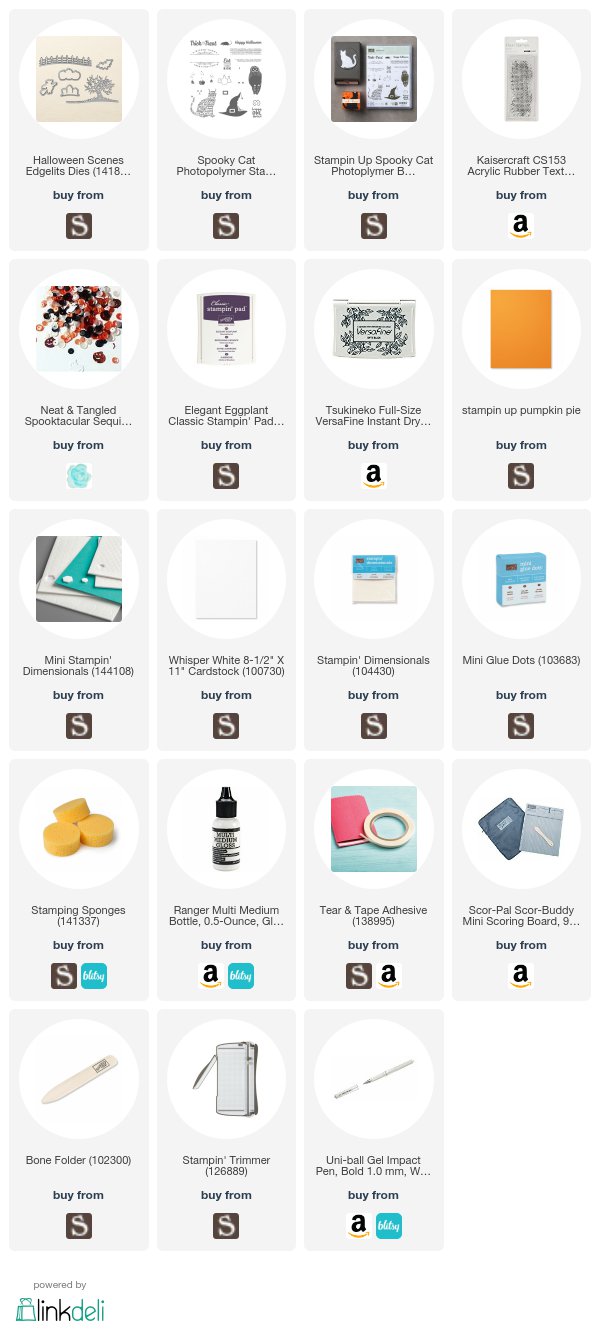
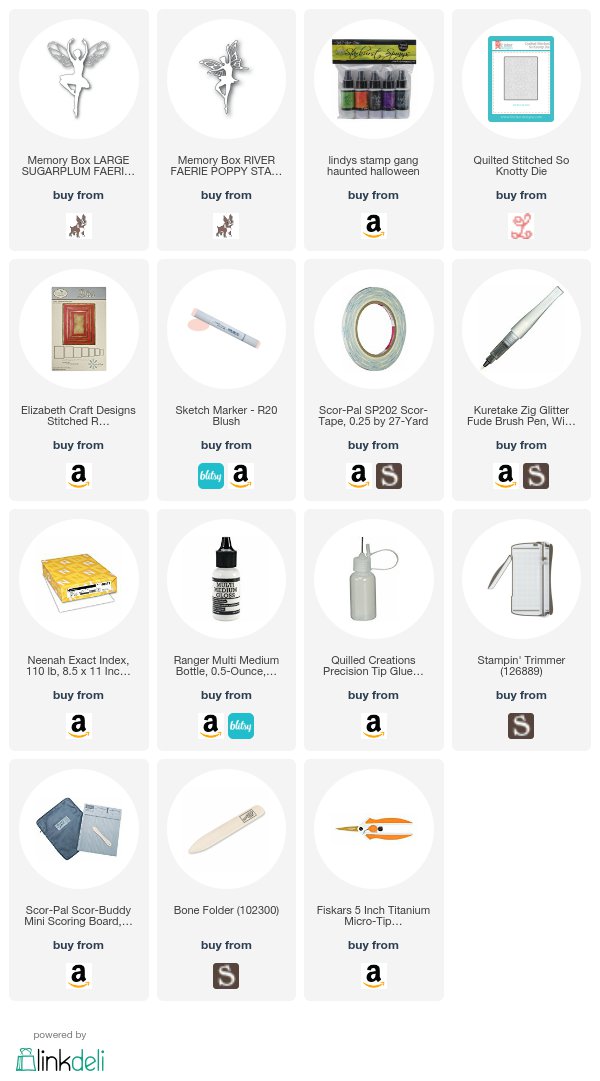
Supplies that I list:
Monday, October 30, 2017
Friday, October 27, 2017
Cimbing Orchid -- Enjoy Today
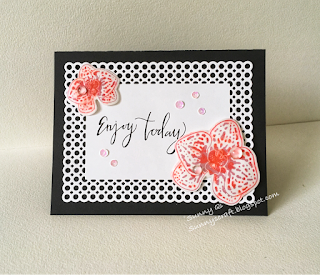
Today I made this orchid flower card by using Stampin Up climbing orchid stamp bundle.
I stamped the orchid on the whisper white cardstock and die cut them out. I also stamped the same orchid on the vellum paper and embossed by clear embossing powder. And die cut it out.
I used the multi medium matte glue them together. After ink color met multi medium glue, the ink would spread out. Also add the vellum over the cardstock will make the flower pop up.
See it close
I used the ourdailybreaddesigns' circle scallop rectangle die to get the background frame. And I added some sequins on the card clear water drops on the flowers.
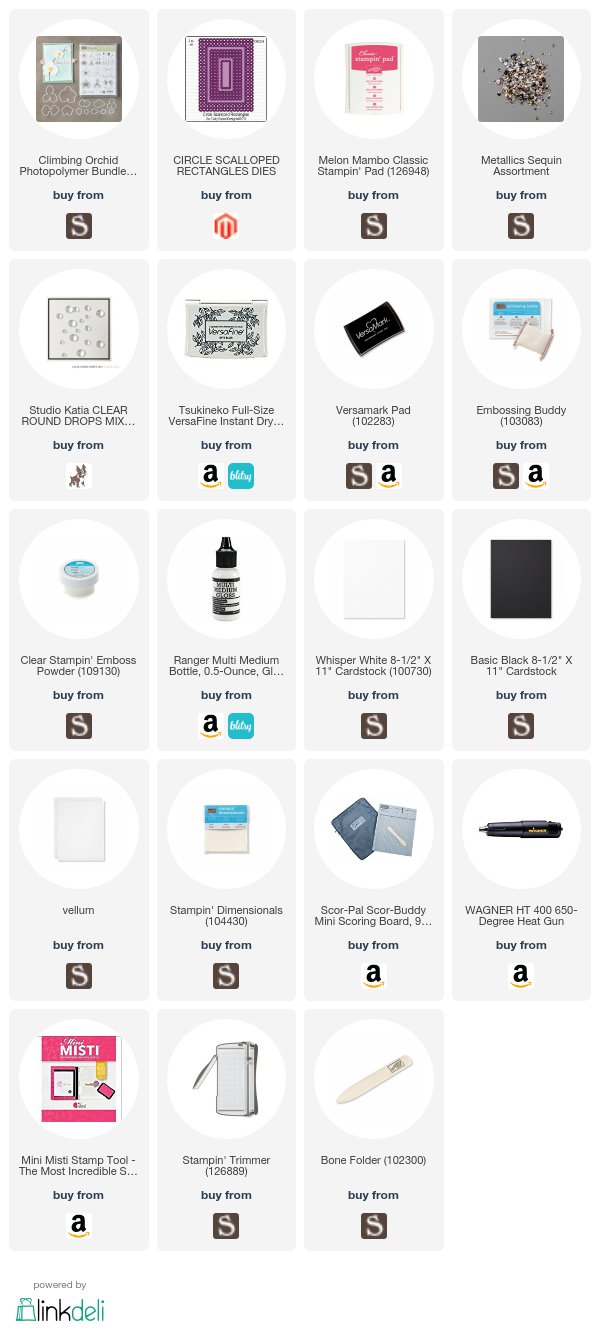
Supplies that I used:
Wednesday, October 25, 2017
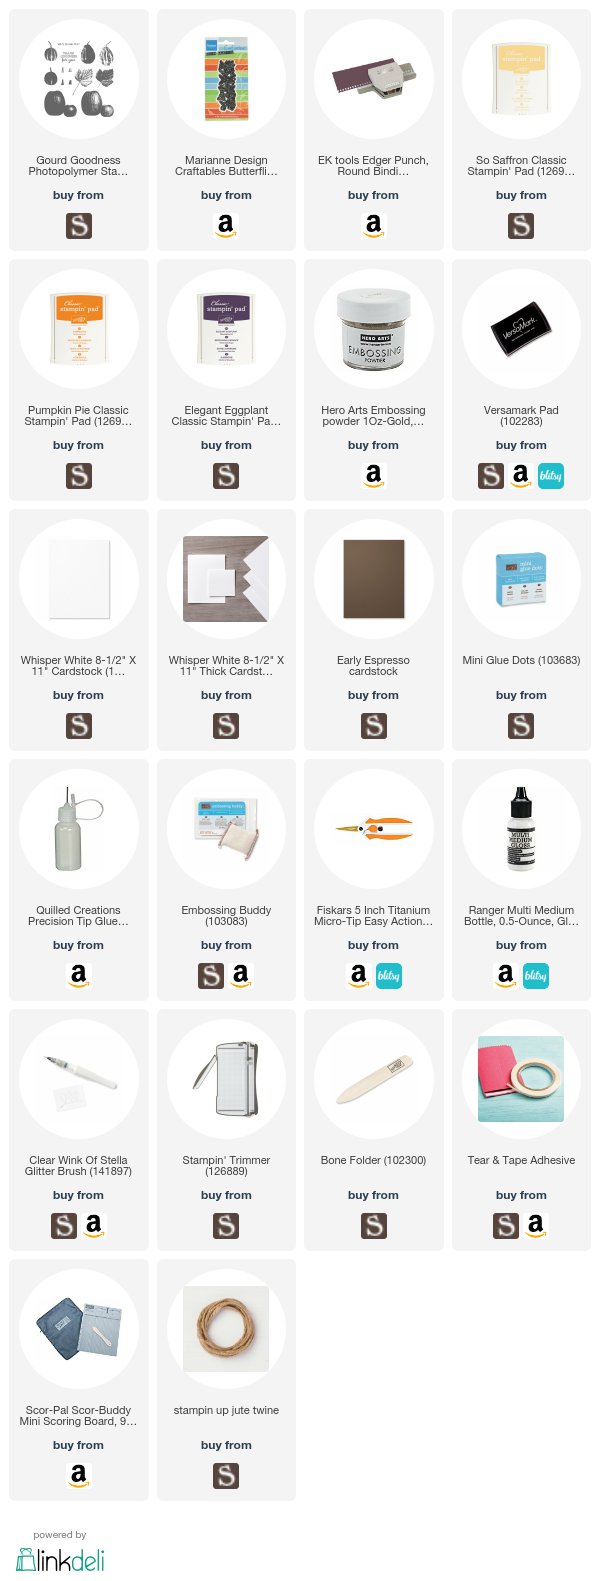
Autumn leaves 🍁 🍂
Autumn is my favorite season. I like colorful mountains. Recently I made a lot of cards using this gourd goodness stamp set. Also you can using the colorful season bundle to make autumn leaves.
Today’s card I used the leftover yellow background paper that I made last time for think of you and beautiful flowers.
I stamped the leaves on the card on light yellow color. Then covered by pumpkin pie color. I stamped leaves randomly. I also stamped two leaves on the other white cardstock and fuss cut them out.
I used note book border punch to get the left edge. I used the glue dots to stick them on the card. And cover by a bow. I added some translucent drops. Layered on the early espresso cardstock. Cardbase I chose crumb cake color.
After I took a picture, I still felt my card was too plain. Then I die cut some tiny butterflies by Marianne Design. Glued them on the card.
Supplies that I used:
Tuesday, October 24, 2017
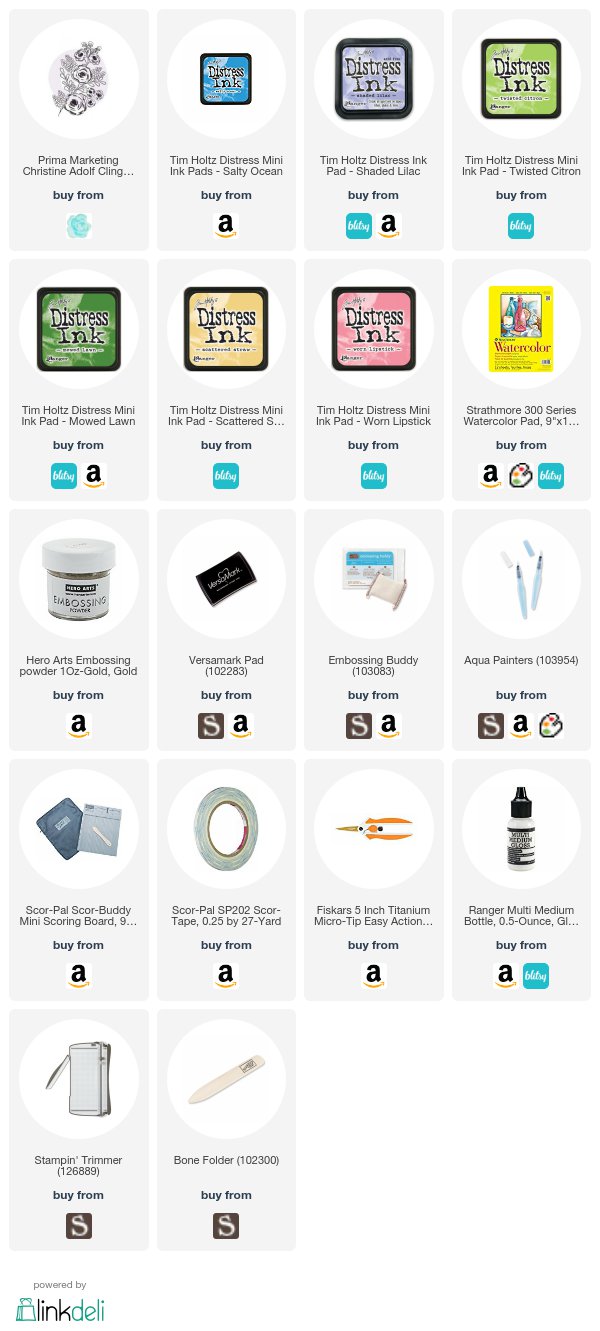
Gold embossed watercolor flowers
When I received this large stamp set, I had no idea how to use it. I left it over a while. Today I got some ideas. I thought it was not too bad. I like the watercolor result. Hope you like it too.
I water colored this card twice. First time, I wet all paper and tapped the different colors to the position that I want to stamp flowers on. I heated to dry.
I stamped the flowers and embossed by gold embossing powder. Then I water colored second time. This time I focused on the flowers.
I bought this beautiful flower stamp from 7 Kids Crafting Supply Store. Recently they sold out this stamp set. They have one very similar one, I will link it below.
Vellum sentiment that I bought from local Hobby Lobby store.
I will enter this card to 7 kids craft monthly challenge. I am so glad my card Elephant thank you card was picked top 3 for September challenge.
Supplies that I used:
Monday, October 23, 2017
Halloween card series -- Witch Hats
Halloween Monday is here. I decided to use Spooky cat stamp set again. I like this stamp set and already used it to make many cards. But until now I still didn't use the witch cat yet. So today I chose the witch cat to make my Halloween card.
I stamped the witch hat on the post it to make a mask. Then stamped witch hat on the card using mask to layer three hats together.
For trick or treat sentiment, I stamped twice to make a shallow. I also stamped the lanes under the hats that looked like ground.
I sponged the elegant eggplant color all around the card and light yellow around the hat. Stamped the tiny dots on the card by retired Itty Bitty background stamp. I got it from eBay. This is a simple card.
Next week will be last card of Halloween series.
Supplies that I used:
Sunday, October 22, 2017
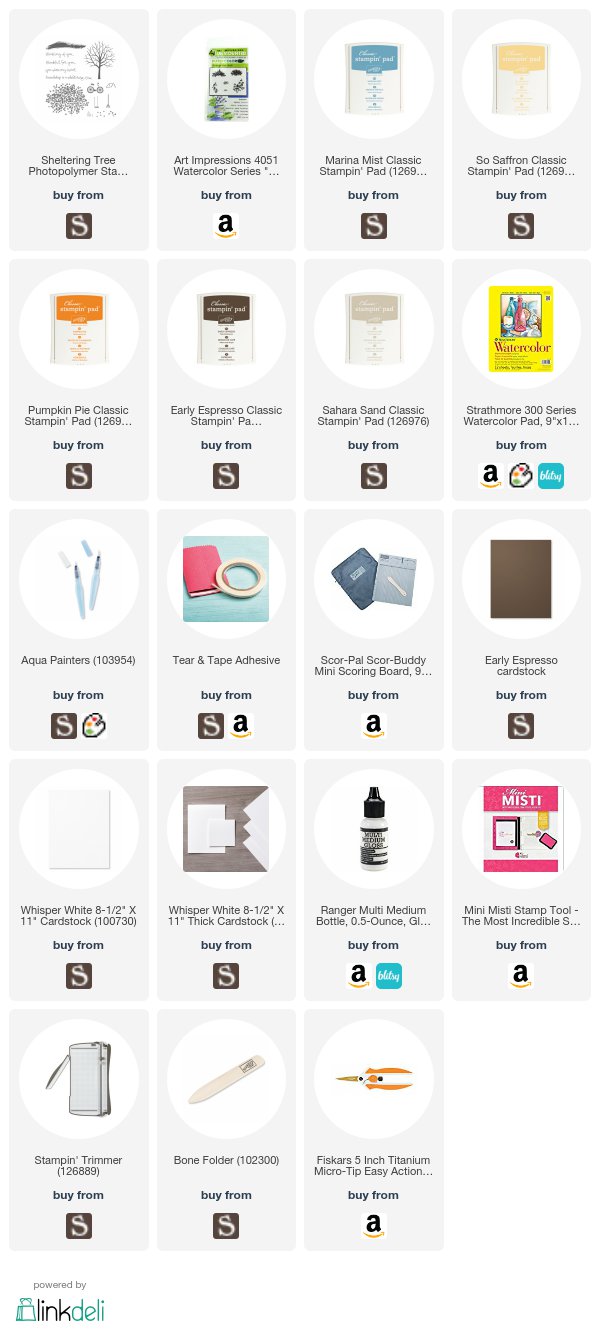
Autumn tree
Once year autumn 🍂 is here. Autumn 's feeling is getting more and more. But leaves 🍃 are still green. Maybe one day they quickly drop after a fall rain. When I sat front of window, I imaged the autumn in my mind. Then it came to my paper.
I took out watercolor paper. I stamped tree branch and two colors leaves. I used wet water color brush to active all of them. I drew the mountain and ground. I stamped tree trunk again to sharpe image. I did the same way to grass. But instead of stamping again. I used the Stampin Up blend pen to add color on grass.
After dry, I watered all blank space for sky. Then I watercolored very light blue. Stamped sentiment and some dropping leaves. My card was done.
Supplies that I used:
Thursday, October 19, 2017
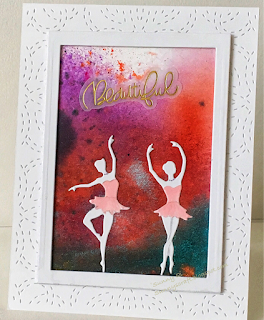
Beautiful ballerina
Last time I made a colorful background on a 8.5x11 white heavy weight card by Lindy's Gang spray color. It was beautiful color. My post After Rain used part of the background. Today I picked up other part of this background. I still had leftover. I felt I made a whole piece of paper by spraying color it worth. Every time I only need trim the part that matches my project. It's easy and simple.
I die cut those ballerinas on the white card stock. On this project, I chose all 110 lb heavy weight cardstock. I drew the dresses for them by a pencil sketch. Then colored by Copic marker.
I two nearby rectangle dies to make a narrow frame. I cut three times and glued them together to make dimension. I just used the vellum base gold sentiment stick from Hobby Lobby.
Fro card base, I used Lil' ink background die to make the texture. This is my beautiful ballerina.
Supplies that I used:
Tuesday, October 17, 2017
Pumpkin thank you shaking card
I just received my order from Hero Art new release. Can't wait to use it. I picked the pumpkin and leaves die. To be honest, they're much bigger than I thought. This size is good for shaking card. I decided to make a pumpkin 🎃 shaking card today.
I die cut pumpkin twice. One is one the white cardstock which is 4 x 5.25. One is on the colorful background cardstock that I made by Lindy's Gang spray ink color. I made full piece of cardstock. and used it some part on After Rain card. I also die cut some tiny leaves using the same paper.
I only used the pumpkin outline shape on the white card. I added a acetate on the back and glue the colorful pumpkin to fill in. I added the pumpkin color sequins that I bought from Michael's.
I glued the tiny leaves on the card. Added Nuvo drops. But I still felt too plain. Then I die cut Lawn Fawn thank you sentiment and glued it on the pumpkin. Finally I added the gold line on the two side. This time I felt much better.
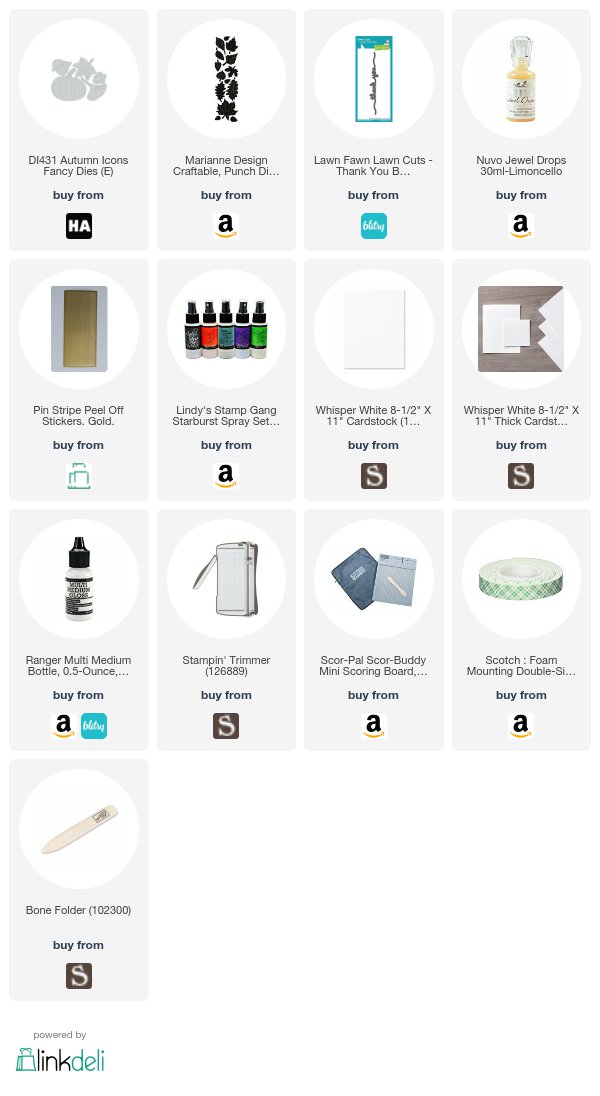
Supplies that I used:
Monday, October 16, 2017
Halloween Card series
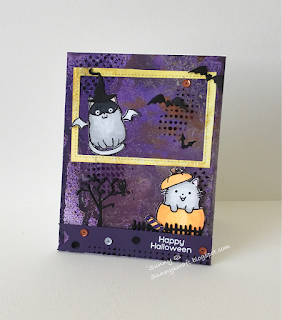
I stamped the cats on the white card stock and colored by Chameleon markers. I fussy cut them out.
For background, I used the elegant eggplant ink with translucent embossing paste to add some dots on the card. After dry, I sponged the same purple on the whole card and small part with pumpkin pie ink color. Then I spray the shimmer on the card.
I die cut the brunch tree, bats, fence and the hat for flying cat. The yellow frame is leftover from the card Beautiful flowers. I didn't trim the frame outline to straight. Just left them original shape.
I arranged the every pieces on card.
Supplies that I used:
Friday, October 13, 2017
Thinking of you
Today's card I used the Stampin Up retired stamp set: Word of Dream. I tried to make a clean card.
I made this yellow background on all A4 8.5x11 cardstock. I used the brayer to color all paper and sprayed water on it. Then covered the plastic film to make texture. I also used part of this background for Beautiful flowers too.
Today I stamped the birds image on the card. Then die cut to oval shape. I also die cut the oval frames three times by the same oval die set. I stuck the two different dies together by washi tape. I glued the three frames together to make dimension.
I only put tape on the back of oval shape. I left the four corners to open.
I will enter this card to Simon Says Stamp Wednesday Challenge: Thinking of you. #ssswchallenge
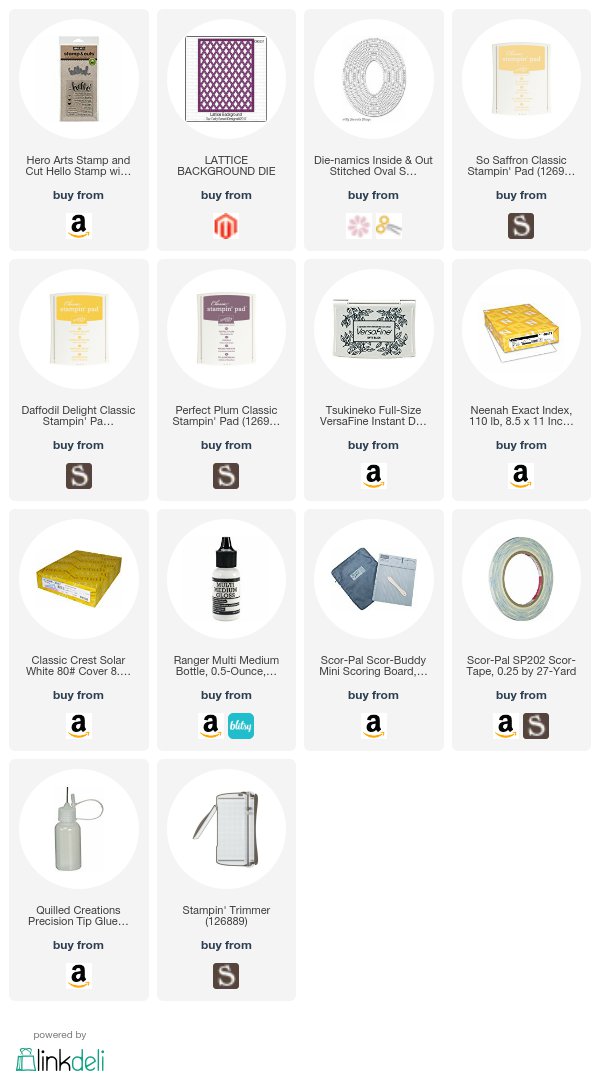
Supplies that I used:
Stampin Up World of Dream stamp set (retired).
Wednesday, October 11, 2017
After Rain
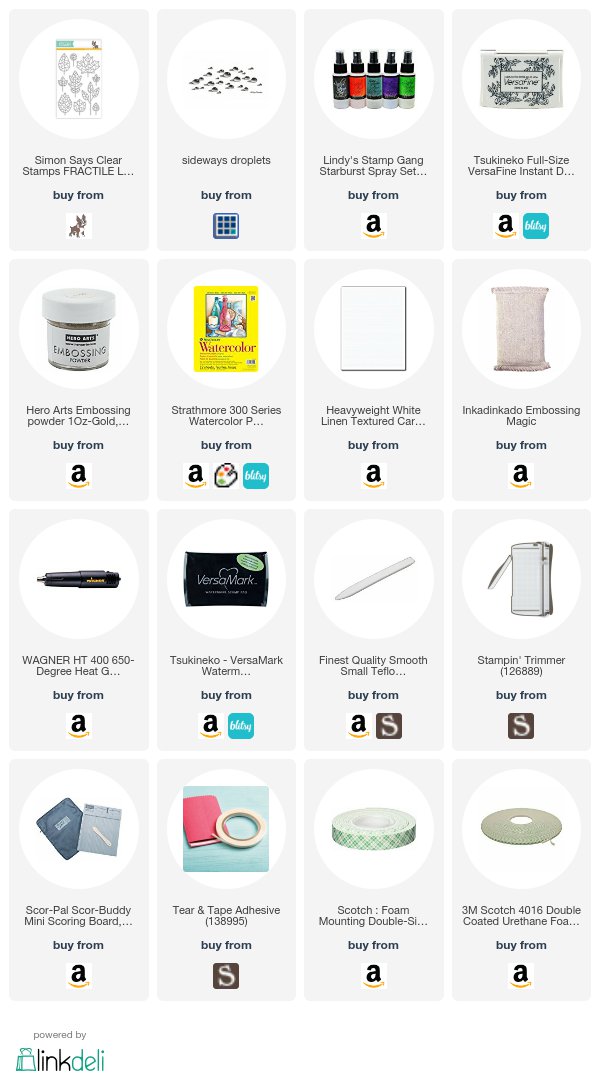
I order some Lindy's Stamp Gang Starburst Spray set. I like it has shimmer inside. Very bright color.
I sprayed the the every colors within this set on the 9x12 heavy weight watercolor paper. I left it overnight to dry. In fact, it is dry quickly. But I didn't have time to make card that night.
Today I stamped the leaves and rain droplets on the paper first. I embossed the leavens by gold embossing powder. Then cut out 3.75x5.
I used the 100lb classic linen cardstock for the base to add some texture.
Supplies that I used:
Monday, October 9, 2017
Halloween card series -- Spooky Cat
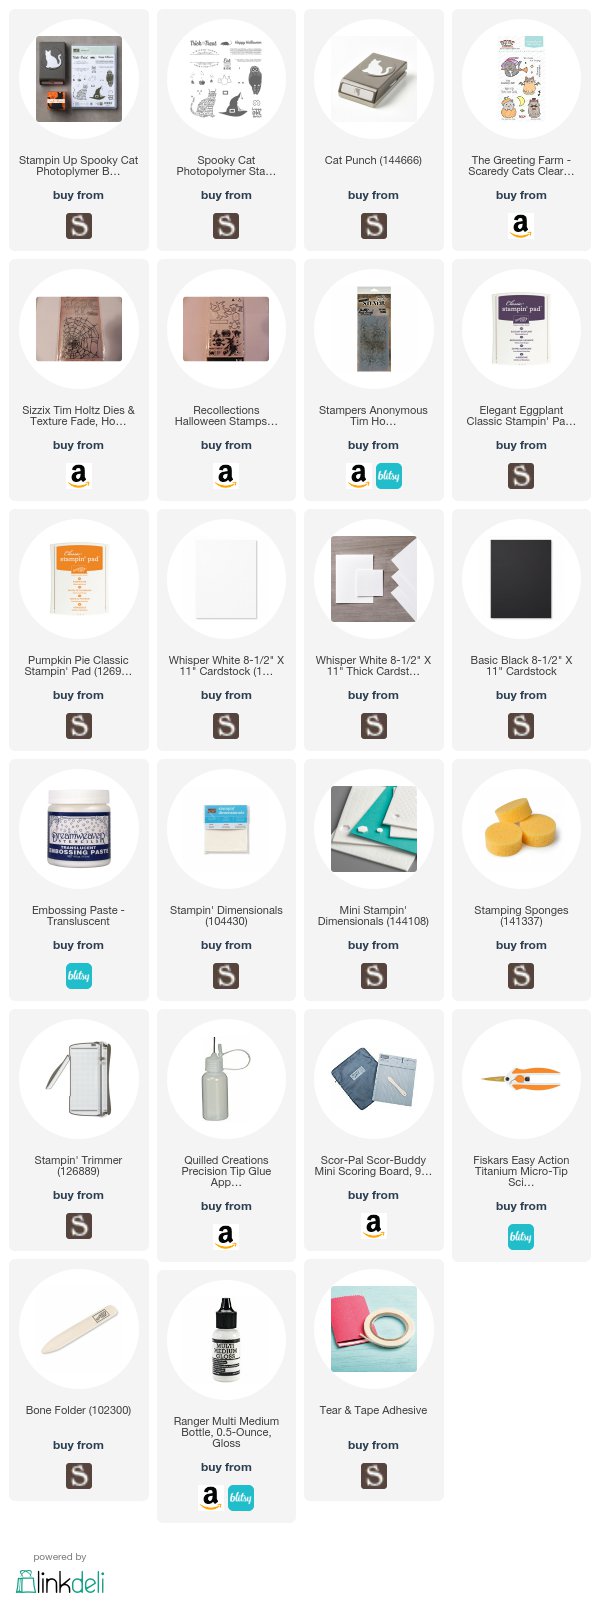
This long weekend I went to Michael's. They has Halloween products 40%off. Great deal! I got this spider web embossing folder and Tim Holtz dot fade stencil.
I mixed the translucent embossing paste with elegant eggplant ink together. And use the stencil to paste some small dots on the card. Waited for dry.
I directly put ink pad on the embossing folder. Then went through the die cut machine. I also sponged the all edges by the same ink color. Here is spider web background.
I stamped the spooky cat on the white card stock. And cut out by cat punch. I also cut out a black cat. I used the spider die from Recollections Halloween by Michael's to get the black spider.
Sentiment from Greeting farm Scaredy Cats.
I layered black cat behind of spooky cat like a shadow. And glued spider and sentiment on.
Supplies that I used:
Saturday, October 7, 2017
Halloween card series -- Trick or Treat
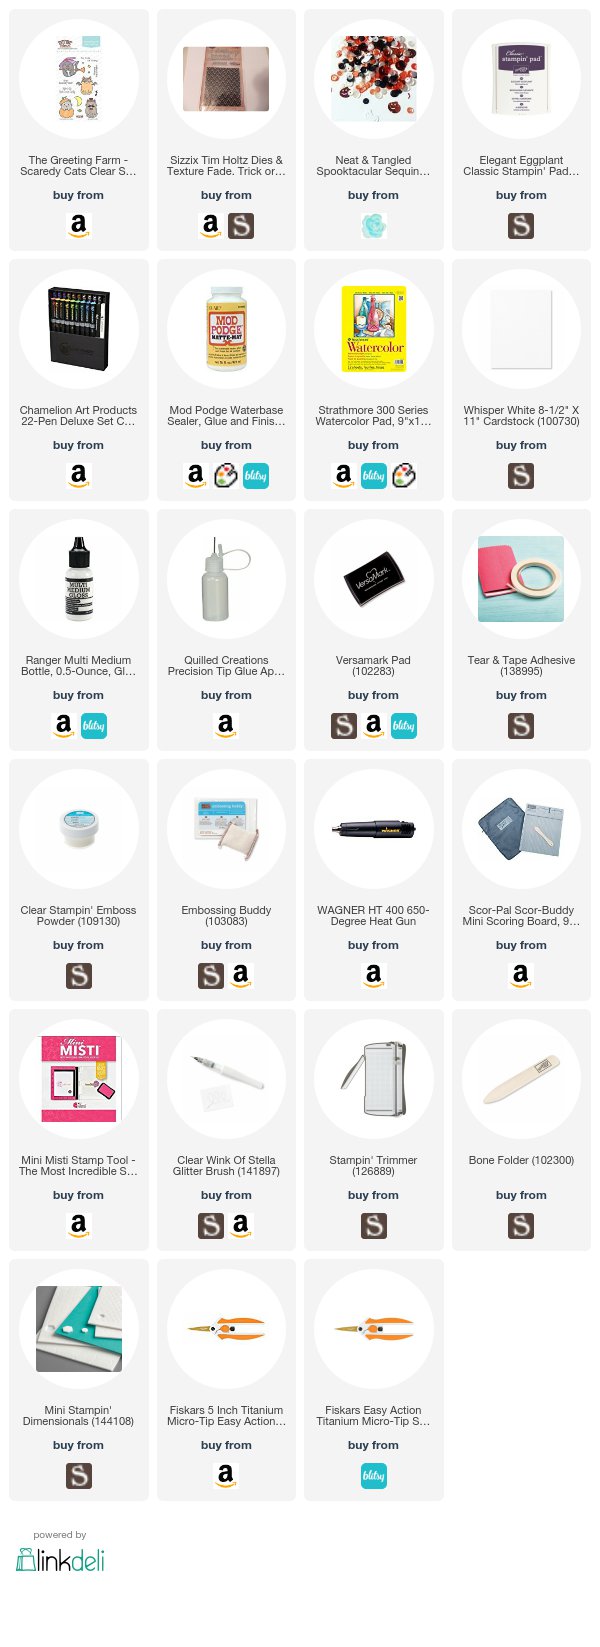
Today I made this very cute Halloween card from Greeting farm and Sizzix by Tim Holtz dies. Very cute images. I also colored other two cats, but I didn't finish the card. I will post it later.
I made wrinkle tissue for background. I used the heavy weight watercolor paper as base and wrinkled the white tissue paper. I glued it by Mod Podge matt. After dry thoroughly, I tapped the paper in the color that I put ink pad on craft sheet and sprayed the water. Until I was satisfied the background color. Left over for dry.
I stamped the cats on the white cardstock and used my new Chameleon Marker to color cats. I fussy cut out all cats that I colored.
I die cut the "track or treat " and border dies three times each. I glued them together to make dimension.
I also stamped and embossed the mice under the border diecut. But the result was not very well because the texture background.
I glued every images on the card by Ranger multi medium. And added the shimmmer on the diecut pieces.
I will enter this card to Simon Says Stamp this Monday Challenge: A walk on the dark side #sssmchallenge
Supplies that I used:
Sizzix Tim Holtz Dies & Texture Fade. Trick or Treat Combo I bought from Michael's. I list a link from Amazon that give you more choice.
Thursday, October 5, 2017
Snowy Night -- Christmas card
It's still around 90 degree outside. I wear T-shirt and short, but I made a snowy Christmas card. What's amazing!
I made this shiny and snowy night sky first. I sponged little melon mambo, so saffron and lemon twist color on the card. Then covered by pacific point and night of navy. At the end of sponging, I also added the elegant eggplant at the corner. Splashed the some water drops, dry by tissue paper. I dropped some white paint on the card. But after dry, I felt too dull. Then I used the white gel pen to add some white dots on the card. It popped up. The last step was I sprayed the shimmer on the whole card.
When I was waiting the night background dry, I die cut the church and house. This die is from Stampin Up! Hearts come home bundle. But you can only buy dies. Very cute dies. I colored them by my new favorite Chameleon markers.
This time I didn't added the yellow paper on the back of church and house. I left them dark because I wanted to show a snowy silent night. Looked like everyone fell into sleep and just waited Santa came.
I add a very light shadow on the snow ground and using the extra fine diamond glitter to make snow around trees, building and ground. I stamped sentiment by night of navy first, and then embossed by clear embossing powder. Misti is very useful here. I mounted it on the night background by 3D dimension.
I will enter this card to this week Simon Says Stamp Wednesday Challenge #ssswchallenge : Christmas
Supplies that I used:
Tuesday, October 3, 2017
Beautiful flowers
These days were hot and humid. It didn't look like autumn weather. I stayed inside to keep cool. I started to think what I want to make. It's a lazy day. I couldn't finish coloring. I felt I had no patient. Looking around, finally I decided to make some messy.
I directly put the perfect plum and daffodil delight on the craft mat. I used the brayer roll color on and transfer to 8.5 x 11 full size heavy weight cardstock. I sprayed water on the paper and covered by plastic film and wrinkled it. Waited until dry thoroughly, took off the film. I got today's card background.
I die cut it by small stitch rectangle die. I put linen cardstock and this background card together. Used the Misti to stamp the dandelion. Small part of flying dandelion on the white cardstock.
I added the foam square under the yellow background card. And glued the Chloe stem on the card.
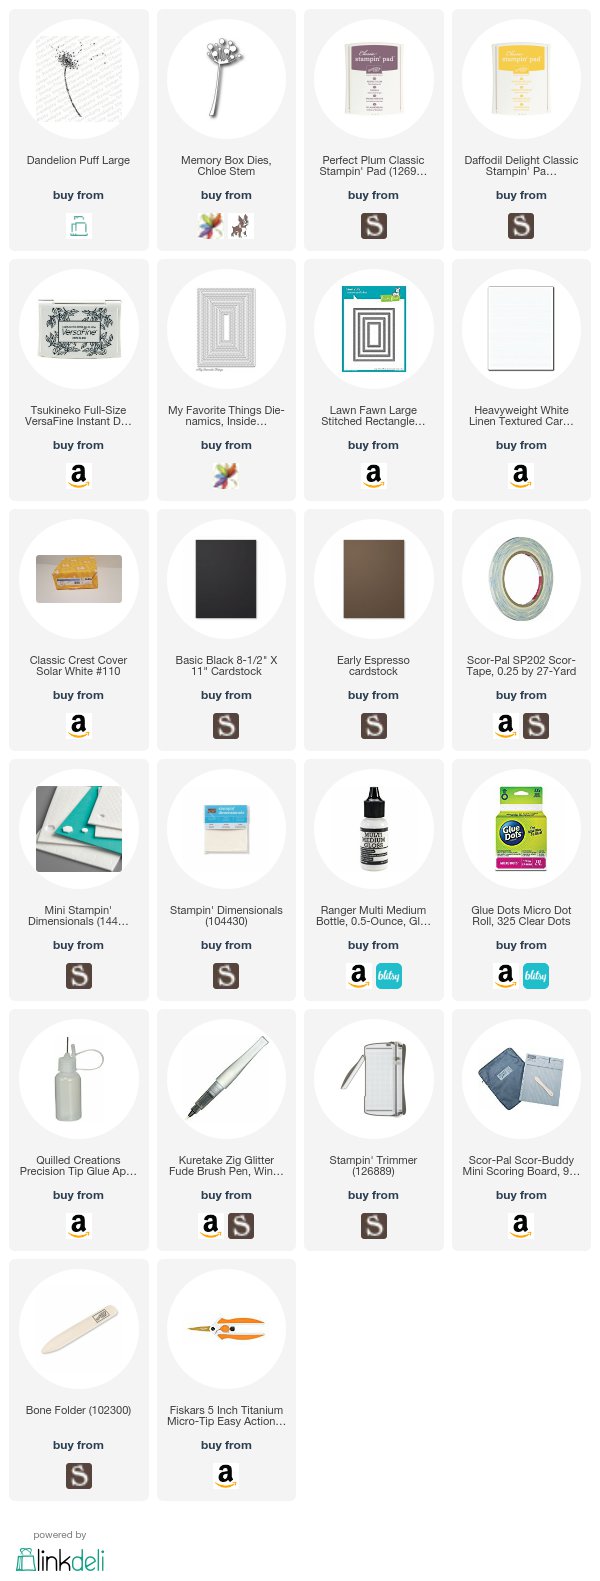
Supplies that I used:
Monday, October 2, 2017
Halloween cards series -- Spooky Cat shaking card
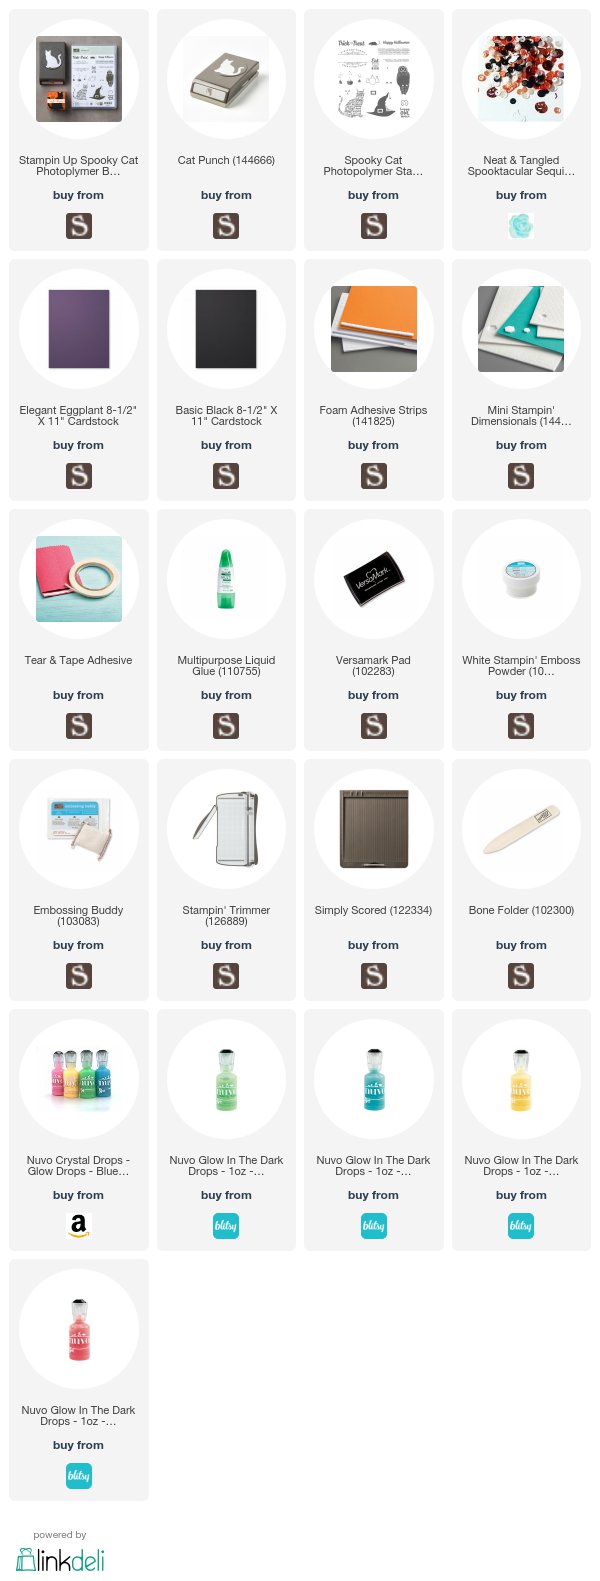
I thought I could make a shaking card by cat punch. This fall Stampin Up! released this very cute spooky cat punch that matching spooky cat stamp set. I listed the shopping link below.
I cut this 5x5 black card and punched the cat in the below center. I embossed the trick or treat on the left upper corner.
I made 5.5x5.5 elegant eggplant cardbase. I checked the cat position on the cardbase and glued the tiny ghost that from Neat and Tangle Halloween sequins on the card. I didn't want the ghost move. Also I glued one big pumpkin that from the same sequins on the outside black card. I added the new Nuvo glow in the dark drops on the right upper of card. But I didn't see it worked well this time. I may try them again.
Used the foam tape the mount the card on the cardbase. It's simple shaking card. My daughter loved this. She wanted I gave to her for Halloween.
Supplies that I used:
Subscribe to:
Posts (Atom)