Friday, September 29, 2017

Brilliant


Normally  every other week I check the box that has all the leftover paper/cardstock. I try to save the leftover paper to make other card. So far it works well.

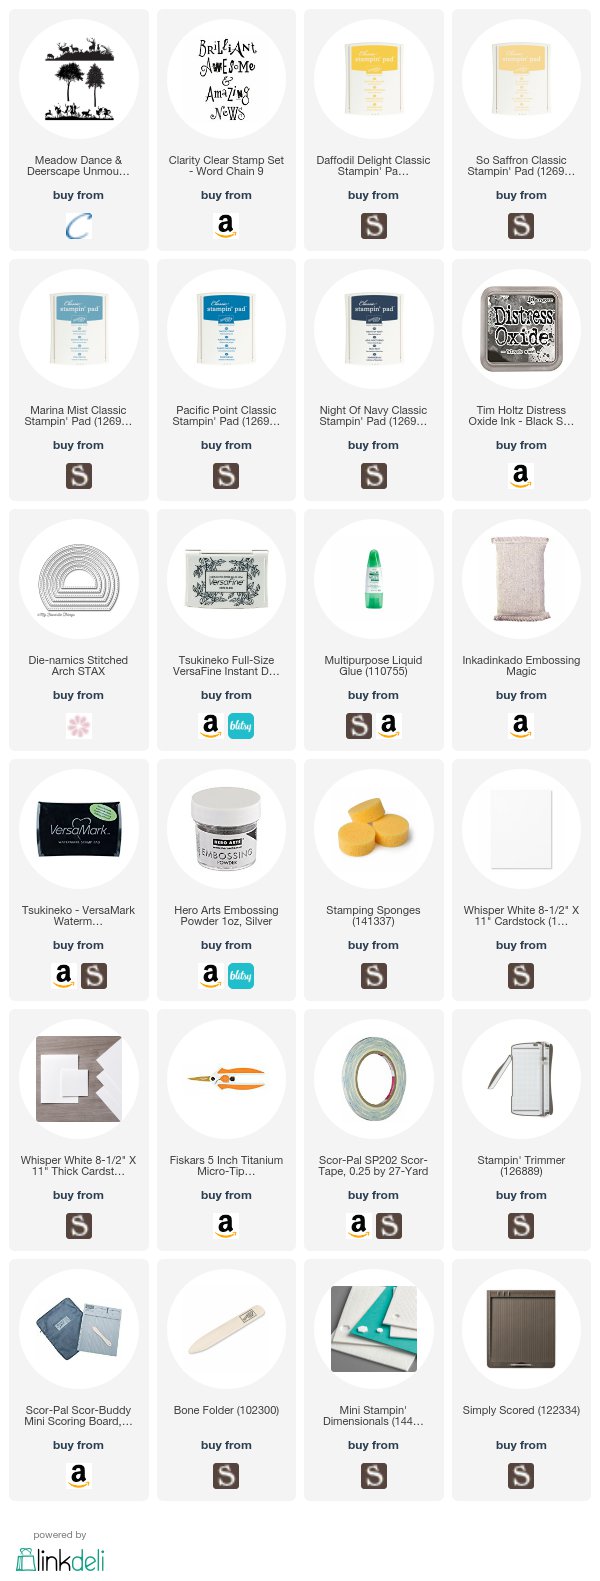
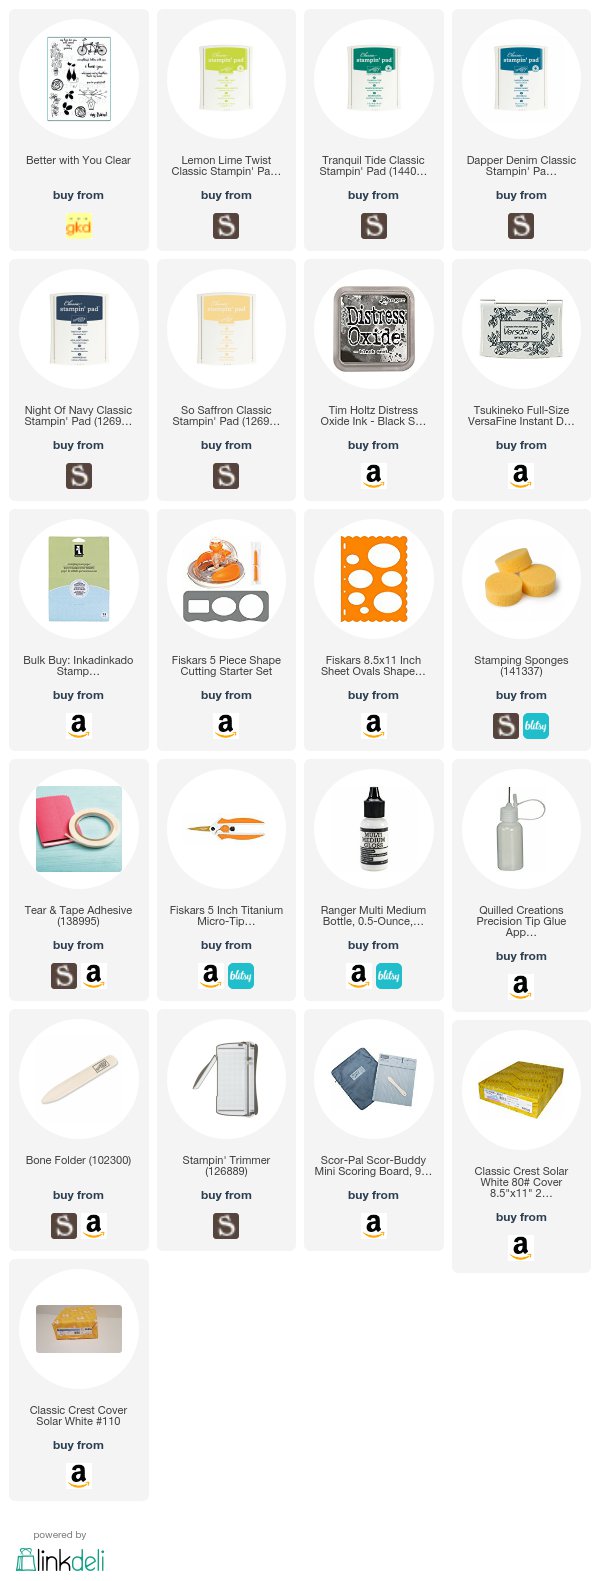
Today I used the leftover die cut 2/3 circle paper to make the sun. I sponged the two yellow colors that I list below with the shopping link for your convenience  on the card. and stamped the image on the bottom of the line.

For background, I sponged three blue colors and black color on the card. I stamped the "Brilliant" and embossed by silver embossing powder.

This is quite simple card. Only need your patient to sponge. Also it's my favorite style.

Supplies that I used:


Thursday, September 28, 2017

Autumn Tree


I owned this Sheltering Tree stamp set long time. But I don't know why I never used it. Today I decided to use it making a autumn theme card. 

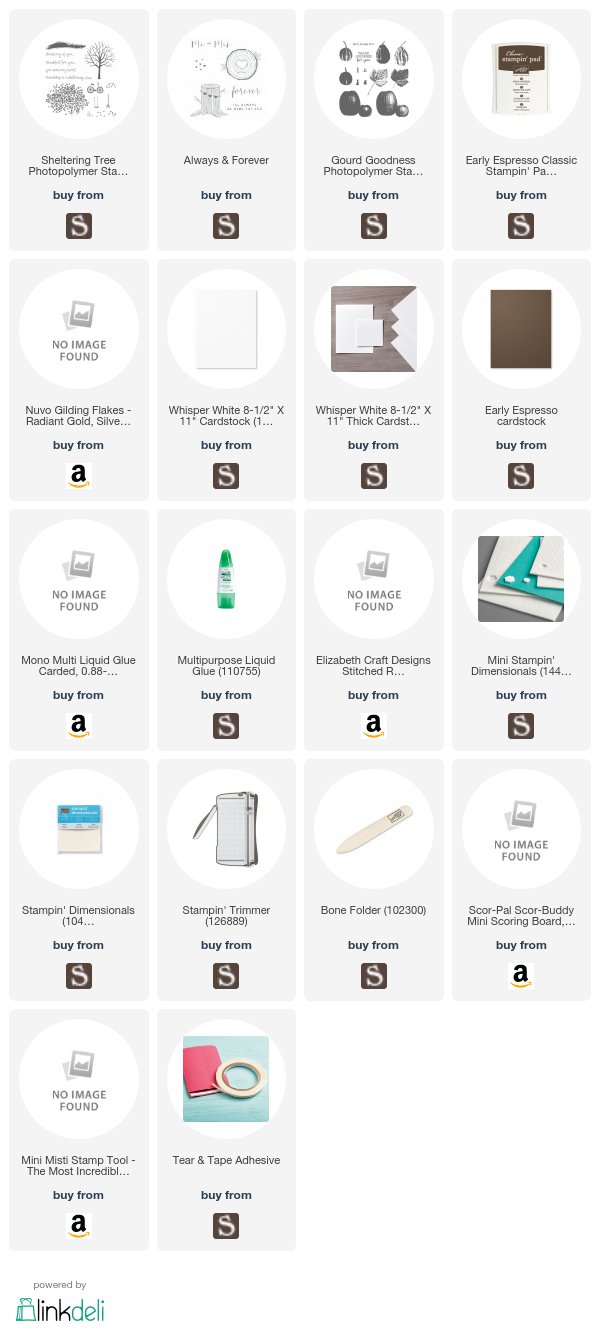
I chose the Nuvo Flakes to make the leaves. I added the glue directly on the leaves stamp and stamped on the tree branch. Then I put the flakes on it. Those flakes I mixed the gold, silver and cooper three colors together. I dusted the rest flakes. I added glue to anywhere I wanted to have leaves and added the flakes. 

I stamped the tree ring from Always & Forever on the early espresso cardstock by the same ink color. 

Die cut the tree card by Elizabeth Rectangle dies. Sentiment for Gourd Goodness stamp set. 

Supplies that I used: 
 

Tuesday, September 26, 2017

Elephant thank you card


One day when I was looking around on  7 kids craft store, I saw this cute elephant and quickly added it to shopping cart. This is what I made by using this super cute stamp set.

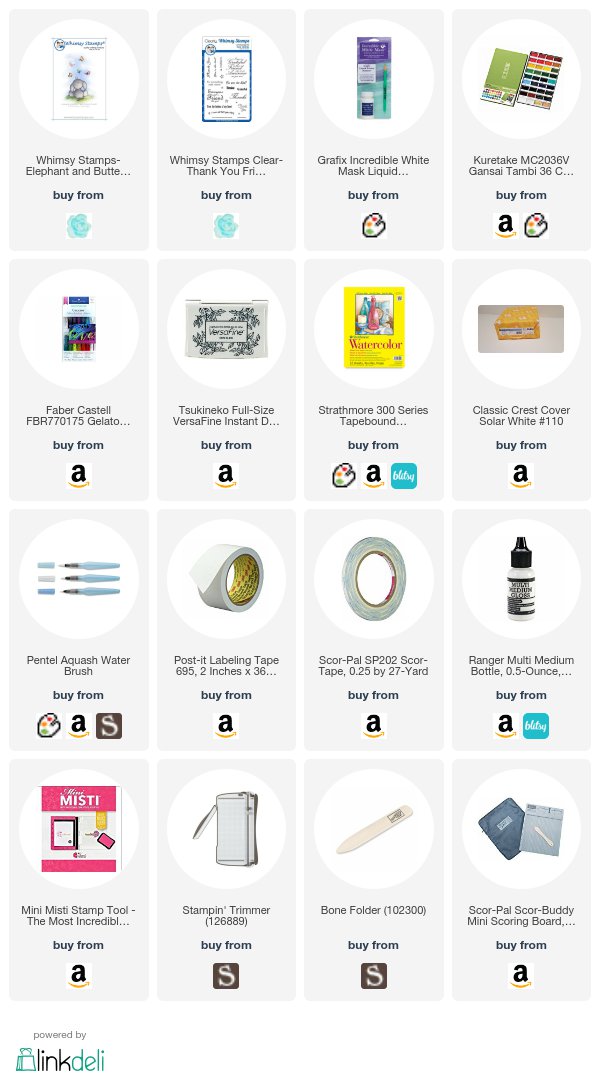
I stamped the elephant and butterflies on the watercolor paper. I added the liquid mask on the image and started to color background. After I was done the background, I peeled off the mask. But I did make a mistake this moment. I put too much liquid mask on the paper. when I peeled it off,  the bottom layer didn't dry thorough. I peeled off the layer of the paper!

It was so bad. I had to stamp the cute elephant on other watercolor paper.  Colored it and cut it out.
I colored the butterflies by using Gelatos that has shimmer in it. Then I glued the elephant on the original position. Stamped the sentiment.

Cardbase I chose the 110lb heavyweight cardstock to support 140lb watercolor paper.

Supplies that I used:

Monday, September 25, 2017

Halloween card series -- Happy Owl-oween

I like this 2017 Stampin Up! Spooky Cat stamp set. It include a lot of thing. I got many ideas to create cards by using  this stamp set. Awesome and cute set! Also Guard Goodness stamp set is my this year favor too. You may already see I used it many times before.

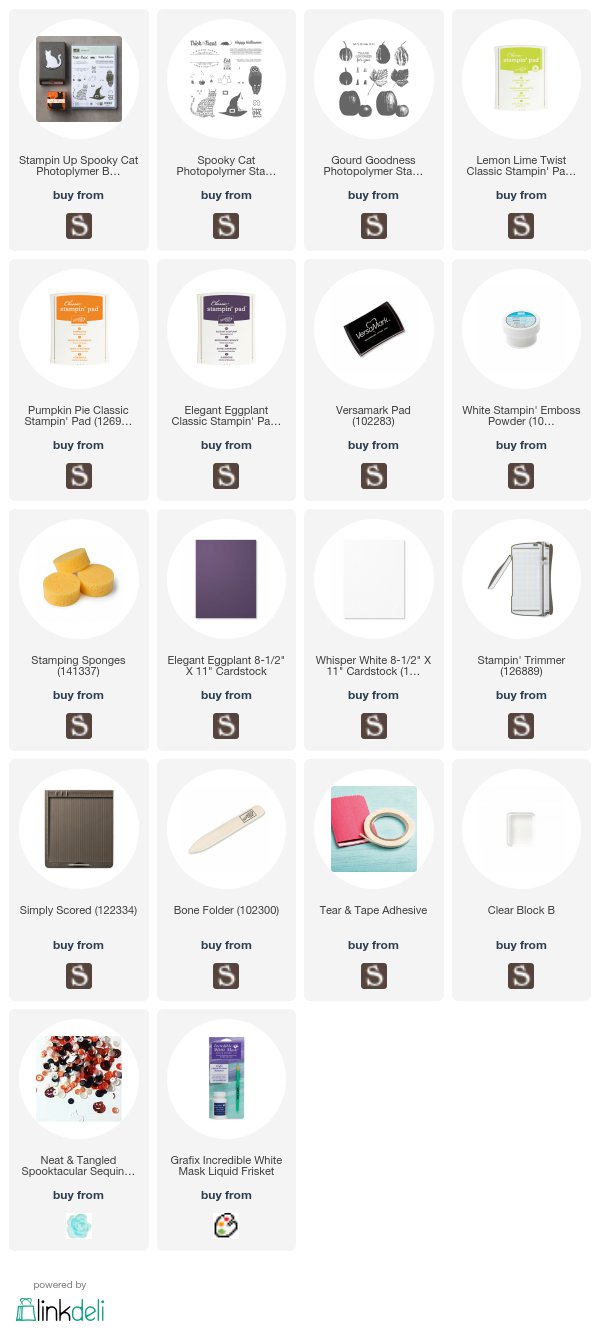
I created today's card by sponging the lemon twist, pumpkin pie and elegant eggplant on the card. And splashed the water on it after completing sponging. I used the elegant eggplant to stamp mice and owl on the card.

I wanted to make owl that watchd the mice from high position. But I don't have the tree branch in my stash. So I decided to use a maple leaf. I used the liquid mask to cover the paw of owl. Then stamped the maple leaf by pumpkin pie. After moving the mask, owl looked like standing on the leaf stem.

I embossed the sentiment and glued the sequins on the card.

Supplies that I used:

Thursday, September 21, 2017

Fall harvest girl


Recently I just stamp and die cut to make my card. I thought I didn't make color long time. I missed it. So I decided to do watercolor today. Watercolor and sponging are my favorite way to create my card.

I chose the heavyweight watercolor paper to make today's card. I stamped the fence on the lower paper and used the green and blue to color the background sky and grass. After dry, I used the pierce rectangle die cut it.

I stamped garden girl on the other watercolor paper and colored it. I added the shimmer on her hair bows and dress( only yellow part). Then fuss cut her out.

I also stamp the pumpkin on the other card and fuss cut it too.

Back to background card, I stamped grass along the fence. and sentiment on the sky.

I taped the girl on the card. 3D dimensions on her upper body and glue on her lower body. So she looks standing there. The same as the pumpkin.

I added the green color under the girl and pumpkin.

Supplies that I used:


Wednesday, September 20, 2017

Eat at your own risk


When I received this stamp set, I really wanted to use those cute lab bottles to make a simple card that may not typical Halloween style.  This's what I did today.

I stamped the bottles and covered them by post it note. Also I used mask tape covered the card of below bottles part. Then I sponged the light blue color around bottles.

I used the purple and green ink pad directly on the leftover photo paper. Dragged the ink pad and got the pretty result. Then I cut two pieces 1/4 strips. I glued them on the card below bottles to make a table feeling. Those strips were opposite directions.

Took off the mask paper from bottles and stamped the sentiment on the card. Glued a very cute pumpkin on the strips. Done! This is a one layer card.

Supplies that I used:

Tuesday, September 19, 2017

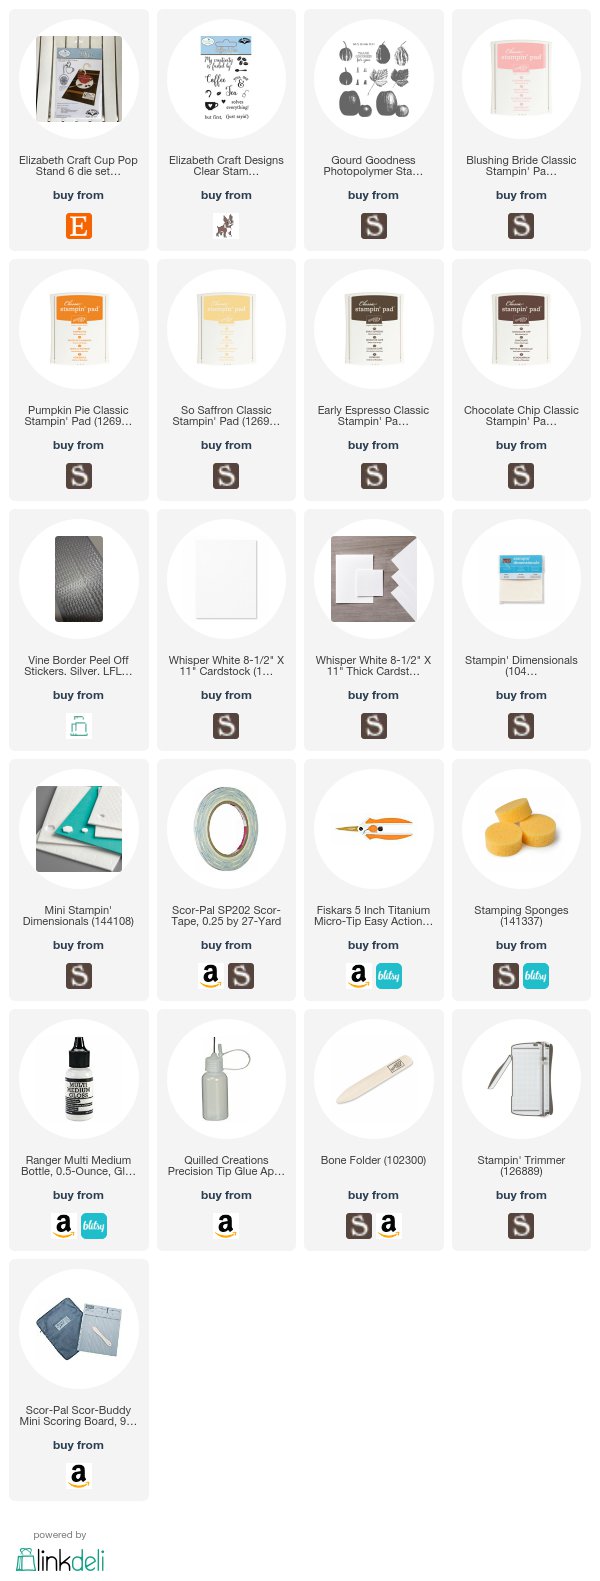
Coffee, You & Me


Many years ago after drinking a cup of coffee, I couldn't fall to sleep and sometimes I felt my heart beat too fast. But I couldn't remember when I start to drink coffee everyday. Coffee become a part of my normal day life.

I decided to make a coffee card for my friend that we will have a coffee meet tomorrow. After searching of my stash, I found I only had this Elizabeth Craft Designs Coffee stamps and  dies on my hand. I should plan to buy more coffee theme stamps and dies.

I die cut the cup, air and spoon. Spoon I used the silver shimmer card. I sponged the very light pink color around the cup. and added the silver line on the cup and stamped the sentiment.

I stamped the maple leaves and the coffee beans on the cardbase. Leaves is layering stamp.

I used the 3D foam to stick the cup on the cardbase. 

I enter this card to  the Coffee Loving Cardmakers has 2017 fall coffee lovers blog hop! #fall2017clh

Supplies that I used:
 

Monday, September 18, 2017

Halloween card series 3


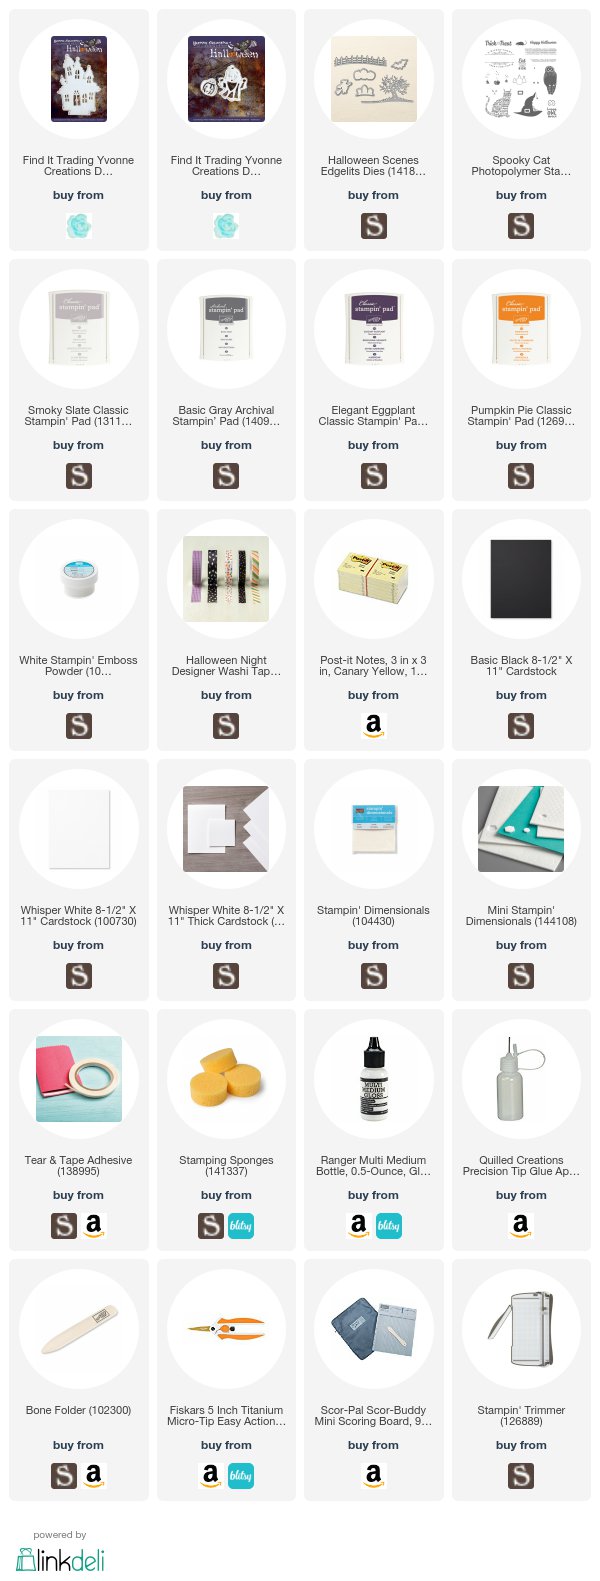
After a busy weekend, I am back for the Halloween card series. Making Halloween card is so fun. I like this Yvonne Creations ghost and pumpkin dies. They are so so cute.

I also used the 2016 Stampin Up! Halloween Scenes die for fence and bat. Sentiment from the this year new holiday catalog Spooky cat stamp.

I die cut the house first. I colored the house by Stampin Up! ink pad smoke slate and basic grey. And I glued the yellow post-it note on the behind of windows and door.

I sponged the card by elegant eggplant and pumpkin pie. Then put the house back to the same position. I embossed the sentiment under the fence.

I chose the Halloween washi tape for two side of  the cardbase.  I also used the 3D foam to stick fence on the bottom of card. Then glued the ghost that I add two Nuvo deep navy drops on the ghost eyes, pumpkin and bat on the card.

Finally I stamped the tiny dots on the sky.

Supplies that I used:

Friday, September 15, 2017

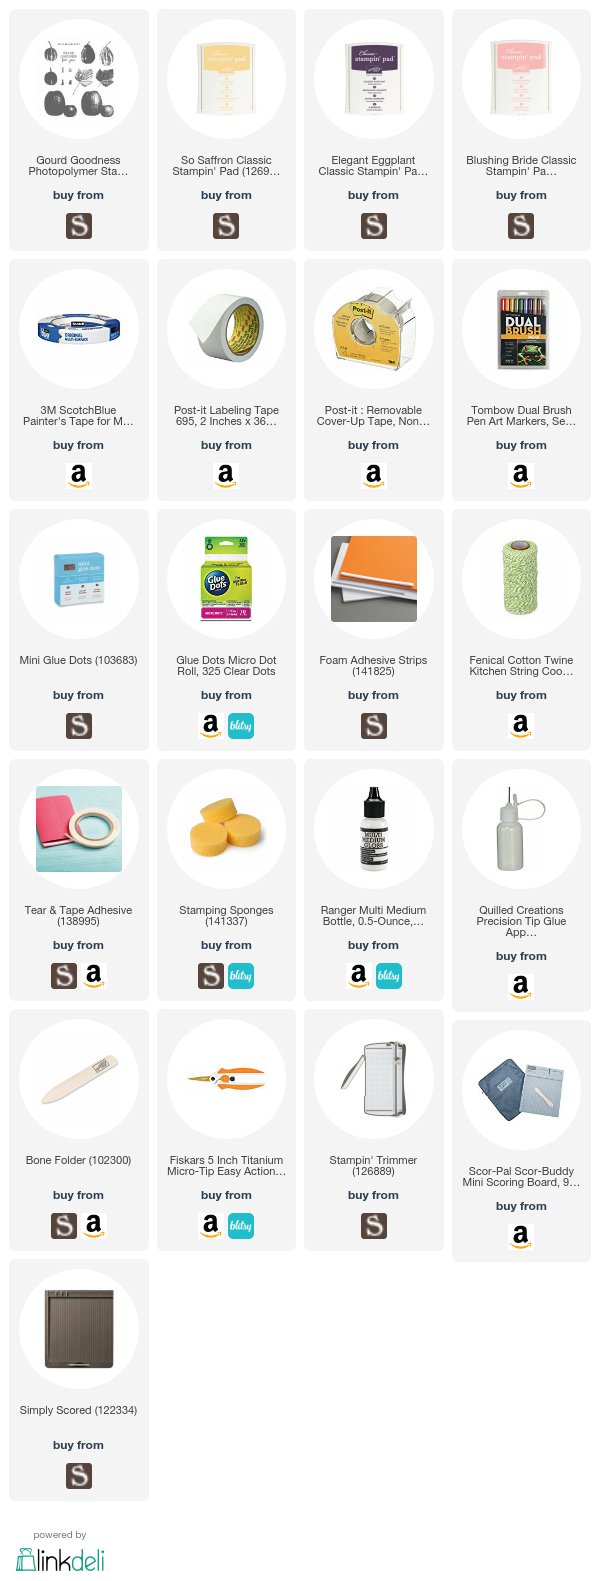
Autumn is here


Texas's autumn is always late. But since entering September,  I can feel autumn's hint.  It's starting cool in the morning, even it's still hot and strong sunshine in the afternoon.

At this moment I just want to leave my Halloween cards series behind and make one autumn card. I grabbed leftover square white cardstock and used the mask tape covered top and bottom of card. I tore the copy paper by hand to make mountains shade. Covered it on the card and sponged the dark purple color to get the far mountains. Repeated it for more layers mountains.

Sponging sky was from top to bottom by yellow and very light pink color. Then I stamped two leaves on the other cardstock by directly using Tombow markers on the stamp. It's two layers stamp. I fussy cut out the leaves.

I also used leftover square frames. I layered three pieces and used foam tape to glue on the cards. After glued it on the cardbase, I used glue dots to stick the leaves on the left corner of frame and added the bow on it.

That's my today's card. Thank you for watching!

Supplies that I used:

Cardbase and frame are from my stash. I thought I bought it from Walmart from very beginning for making card. It's a little grey tone white texture cardstock. Not sturdy enough.

Thursday, September 14, 2017

Believe


I sat in the backyard looking around green grass, blue sky and listening bird song. At this moment everything was calm down. It let me believe life is so beautiful and bright. All darkness was gone. 

What's I want to make today? I have no idea. I just randomly grabbed my Color Brusho powder. I tapped it on the watercolor paper and sprayed water on it. I watched the color spread out front me. You don't what's you will get, but it's so beautiful. I left it on the table and drank my tea. 

Sunshine was getting stronger, birds were hiding to shaded place. I am thought it's time to get inside. 
After getting back inside, the card was dry. I added hot glue on it to make 3D dimension. I cut two frames from MFT rectangle frame die. Before I glued frames on the card, I added some blue and red color on the card. 

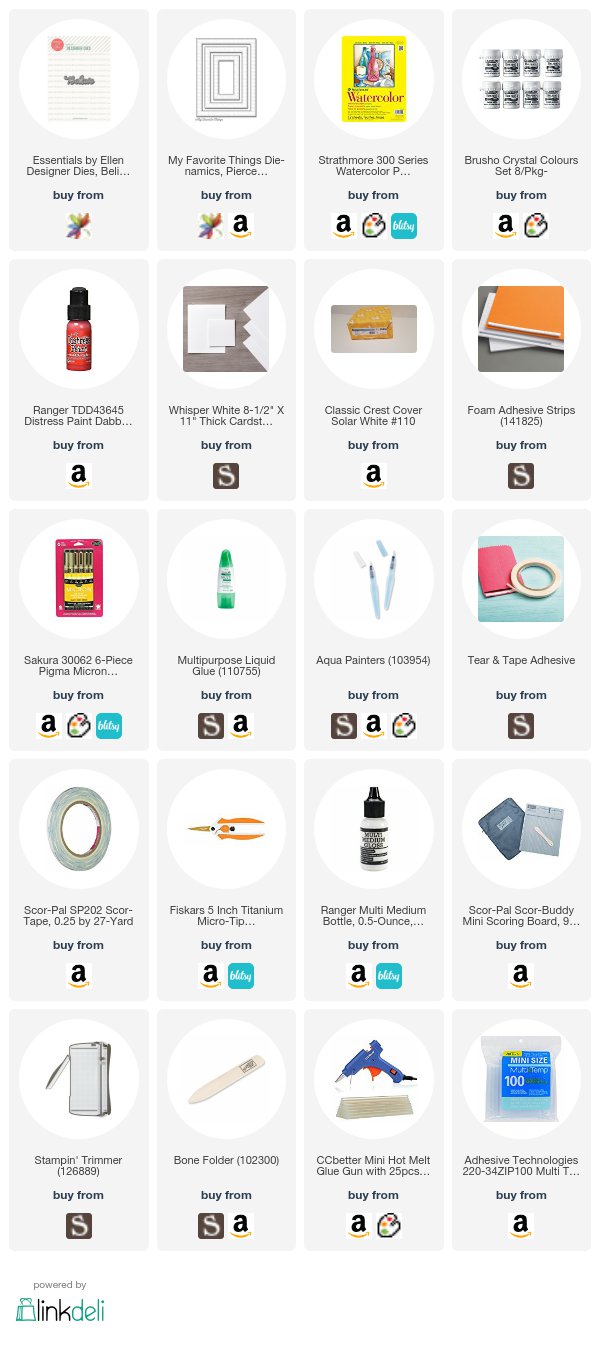
"believe" die from Ellen Hudson. It matched my feeling. 

Supplies that I used:

Tuesday, September 12, 2017

Halloween card series -- Witch

I ordered some Halloween dies and stamps from 7 kids your crafting supply store. They are great store and shipping so fast that I like it. And Kelly is a very nice person. 

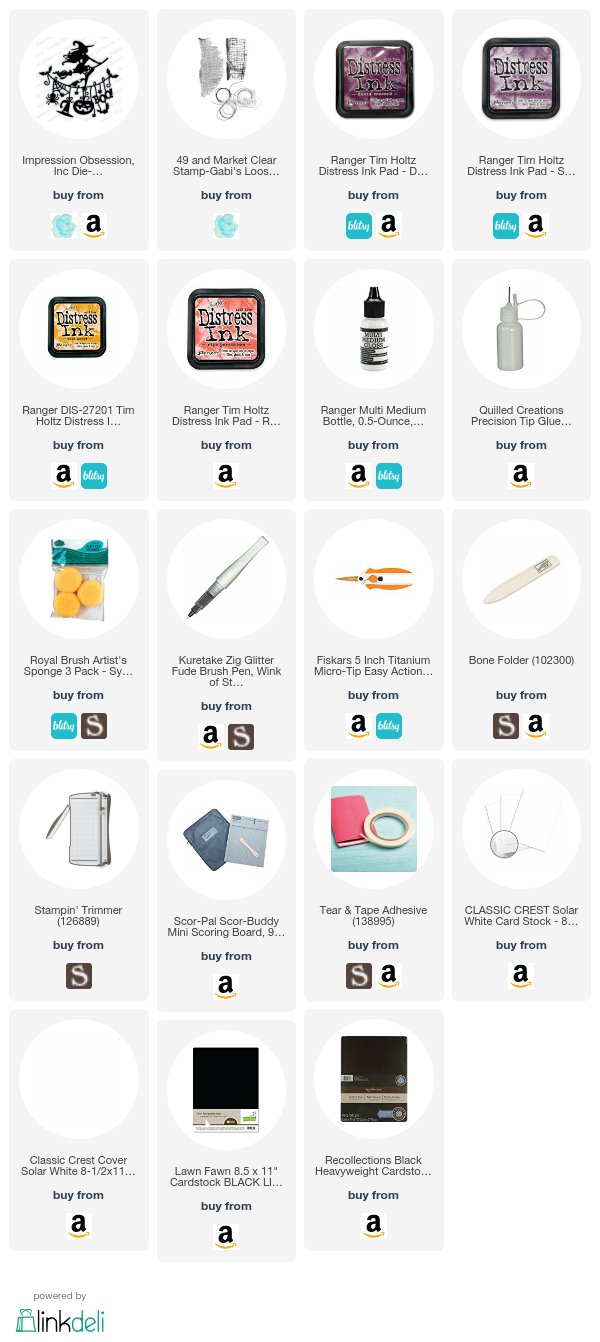
Today's card I used Impression Obsession witch line die. I die cut this witch on heavyweight black cardstock. I felt thick cardstock would get better result for this detailed die.

I cut the heavyweight white cardstock for 5x5 square. Then started to sponge all around edge by Distress ink ripe persimmon and wild honey., center by seedless preserves. And stamped 49 and market clear stamp gabi's loose threads by dust concord on the upper corner and lower edge. Also stamped some dots on the card by the same color with threads.

Then I glued the witch on the center of card. Finally mounted the card on the heavy weight black cardbase. 

Supplies that I used:

Monday, September 11, 2017

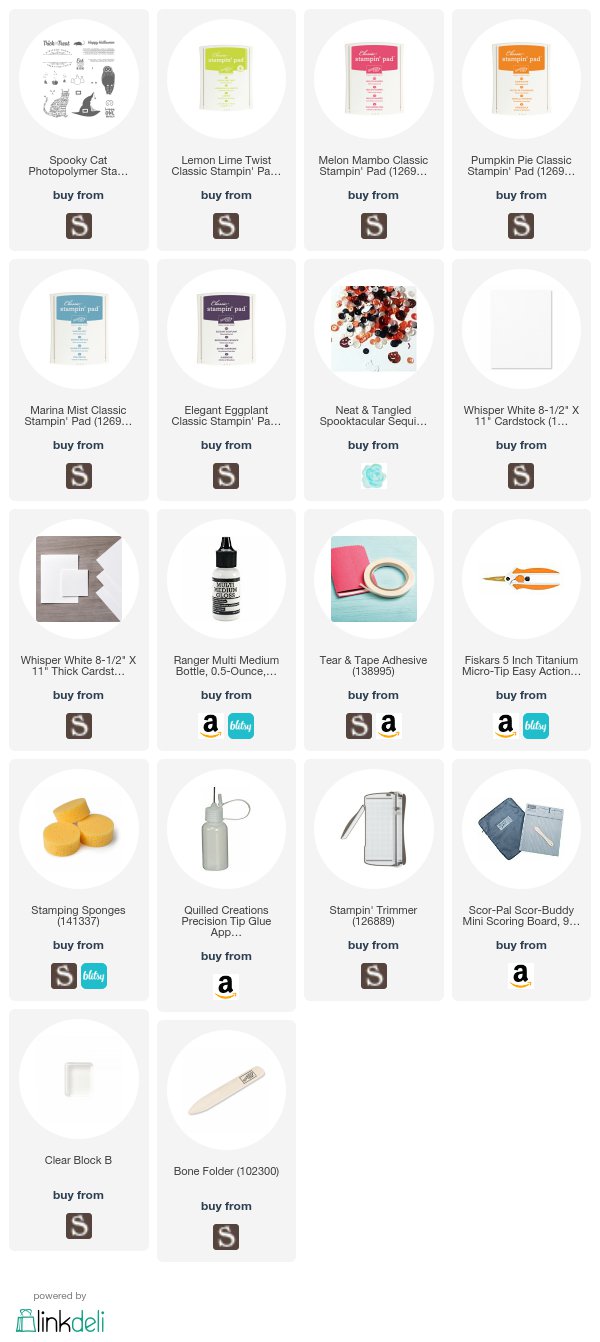
Halloween Card Series-- Trick or Treat


I decided to start my Halloween Card Series today. It's first year I did the Halloween cards. So fun.  Halloween is one of my daughter's most favorite holiday. This year I will not only prepare her costume but also make cards.

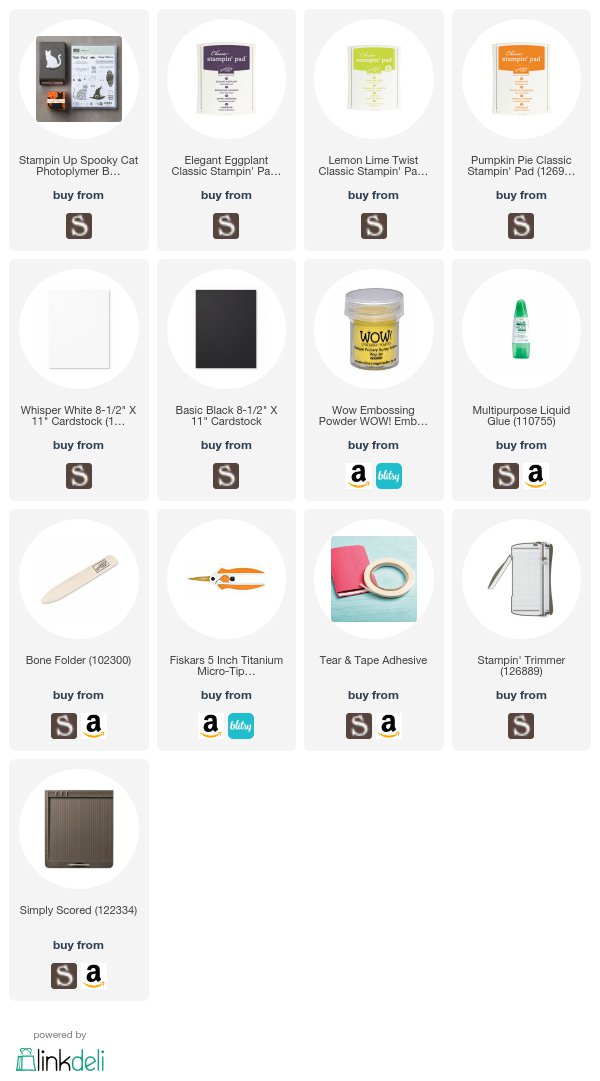
I made this Trick or Treat card by Stampin Up! new holiday catalog Spooky Cat stamp bundle (146014). I used the watercolor smooshing technique to make the background. And stamped the sentiment and ground on the card. I stamped the cat on the black cardstock and embossed by light yellow embossing powder. And I used the cat punch to cut it out.

I glued the cat on the card. And I chose the black cardstock for the cardbase.  It's done!

Supplies that I used:

Thursday, September 7, 2017

Night sky background


 After I watched a YouTube video, the lady made a fantastic sky background. Love it! I really like to try it myself. I copied her idea and color choice to make the sky background. Very enjoyed.

First, I cut cardstock  and two mask sheets to size 4" x 5.25". A slight smaller than cardbase which I would get the white frame. I cut the one curve line  like globe top shape by hand. I marked by pencil line before I cut. Then I cut a moon circle in the center of  the other mask paper.

I stuck the sky part of globe sheet to color the globe. I sponged the color from bottom to up. Light color first, then dark color. Black color was at the end. Peeled the mask sheet.

Now was time to color sky. I covered globe and moon by shaped mask paper. Light blue fist and dark blue and black at the end.

Last step was color the moon. In the video she used the watercolor brush  to color the moon. I chose sponged the color. Used mask paper to cover every other space. Only the moon is open to sponge. I tapped a tiny light black color for shadow of moon. Then started to sponge yellow color.

I embossed the sentiment, and stamped two cats image. Added the white dots by white gel pen.

Supplies that I used:

Wednesday, September 6, 2017

I'm here for you...


I don't know why I fell in love with sea stamp images this summer, from sailing boat to jelly fish, from pirate to seahorse. I thought maybe because I missed ocean or missed home. My hometown is near high mountains. There is so beautiful mountains and incredible deep blue lakes. Oceans is far away with us. Go to the sea, play on the beach became a dream when I was young.

This summer I with Belle made many sea theme card. Very enjoyed. One night I couldn't sleep. I held my iPad and looked around on eBay. I found this 1997 Stampin Up stamp set. Seller mixed them with some 2005 stamp set together. I thought I found the treasure. I bought it and like it.

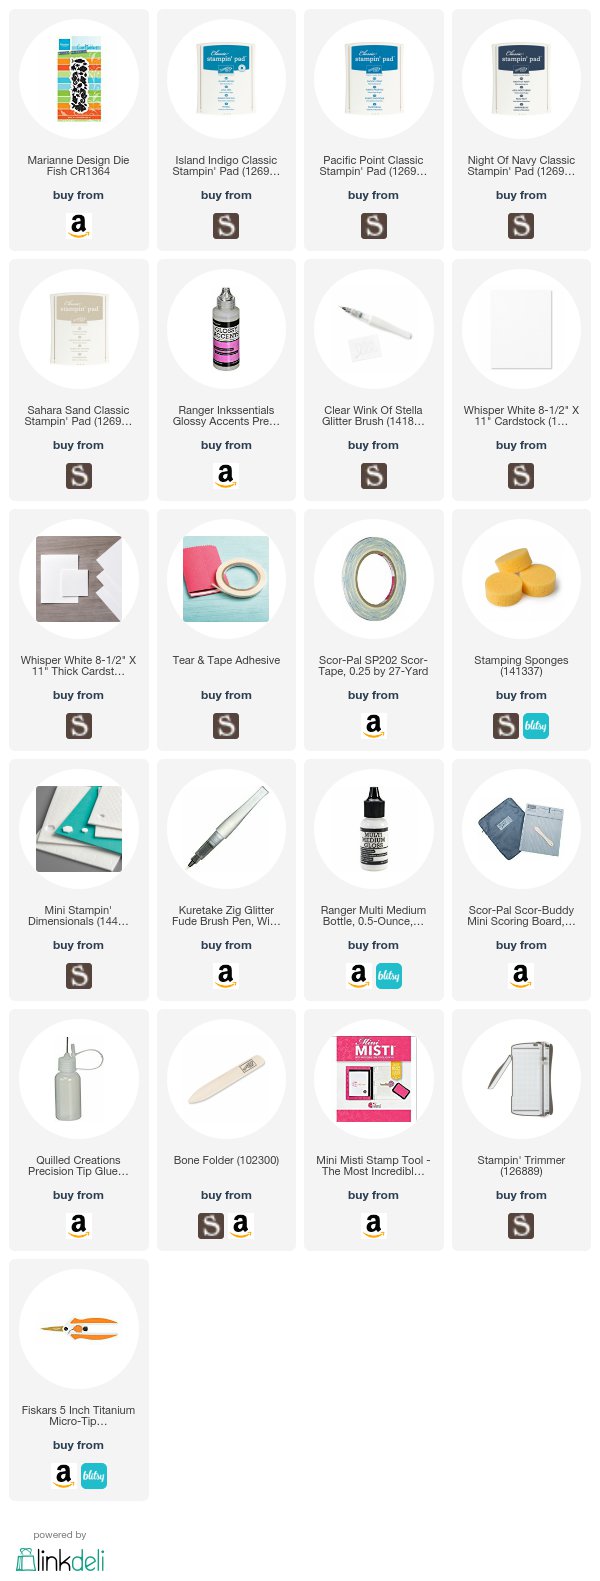
I started to make a card for under sea. I only used the couple blue tone colors(pacific point and island indigo) to sponge this card. I added sand hill and shell by very light sand color to get a shadow result. I stamped sea weed, seahorse and tiny fishes by island indigo. Bubbles used the same color.

I added the sentiment on the left top of water by night of navy. I thought it was cool. After I finished all of things, I mounted it on the cardbase. But I feel it was too plain. Then I added the shimmer on the seahorse and tiny fishes. Better, but still plain. At that moment, I had no more idea to adjust this card. So I decided to leave it there.

Until today I looked it again, I got some ideas. I dies cut some tiny fishes on the black cardstock. I used foam square to add 3D dimension. And shimmer their body. Also add some clear drops that I made from glossy accents on the card. Those clear drops were so closed with stamped bubbles. But it made 3D dimension.

I am satisfied the result. Now you can feel the 3D under the sea.

Supplies that I used:
I don't know the stamp set name, but I took a picture below

Tuesday, September 5, 2017

Tissue paper background


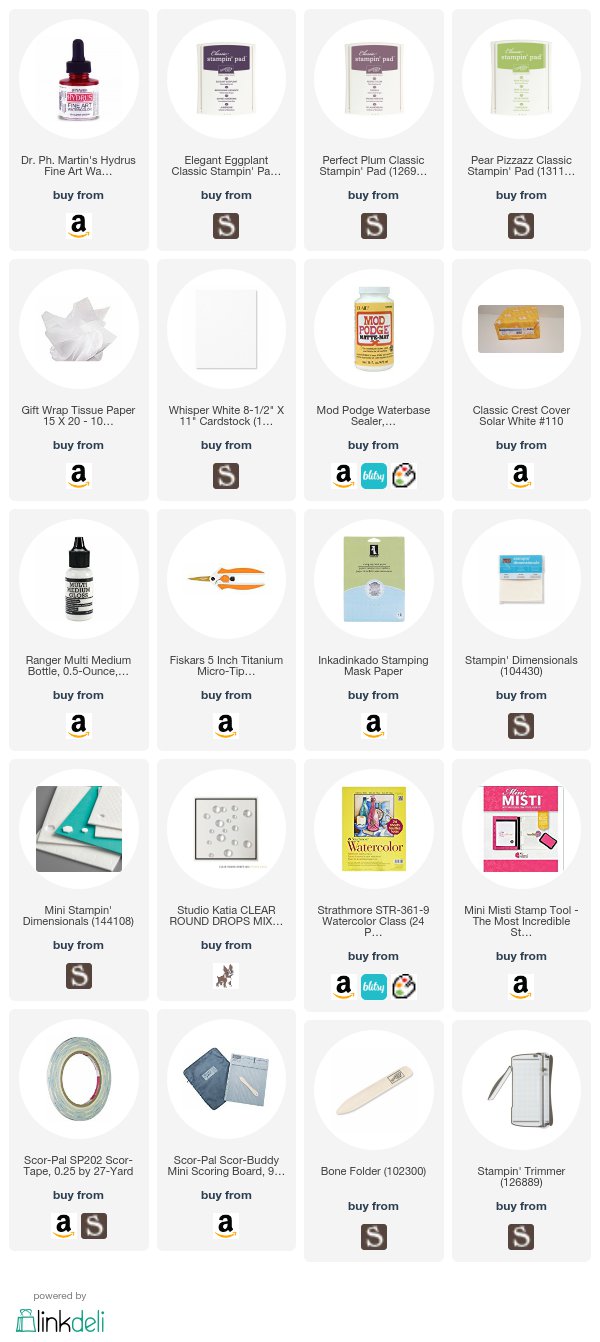
Today I played with tissue paper. I brushed Mod Podge matte all over my card and I put white tissue paper on it. I wrinkled the tissue paper to make texture. Brushed Mod Podge over again. Let it dry.

I stamped the texture image on the white card and used the hexagon pouch it out. Then I used the make paper to stick six pieces hexagon card together. Image faced down. I stamped flowers on the card. So I got flower and back had a little shadow, not totally white card.

Now my background card was dry. I used Dr.Ph.Martins fine art watercolor Aliarin Crimson added some water to color on the tissue paper. This is pretty raspberry color. After dry, I used 3D dimension foam dots to mount all six pieces hexagon on the card. I added the tiny bow and clear water drop on the card. Stamped sentiment. Done!

It was very fun technique. Loved the finish card.

Stampin Up retired stamp set Avent Garden and Six-sided Sampler
Stampin Up retired Hexagon pouch

Other supplies that I used:

Monday, September 4, 2017

Thinking of you by Gina K. designs


This Labor Day long weekend I didn't go anywhere. I planned but I couldn't go because out of gas at most gas stations around my place-- north of Texas. I need save gas for driving my daughter to school. I hope more gas coming next week.

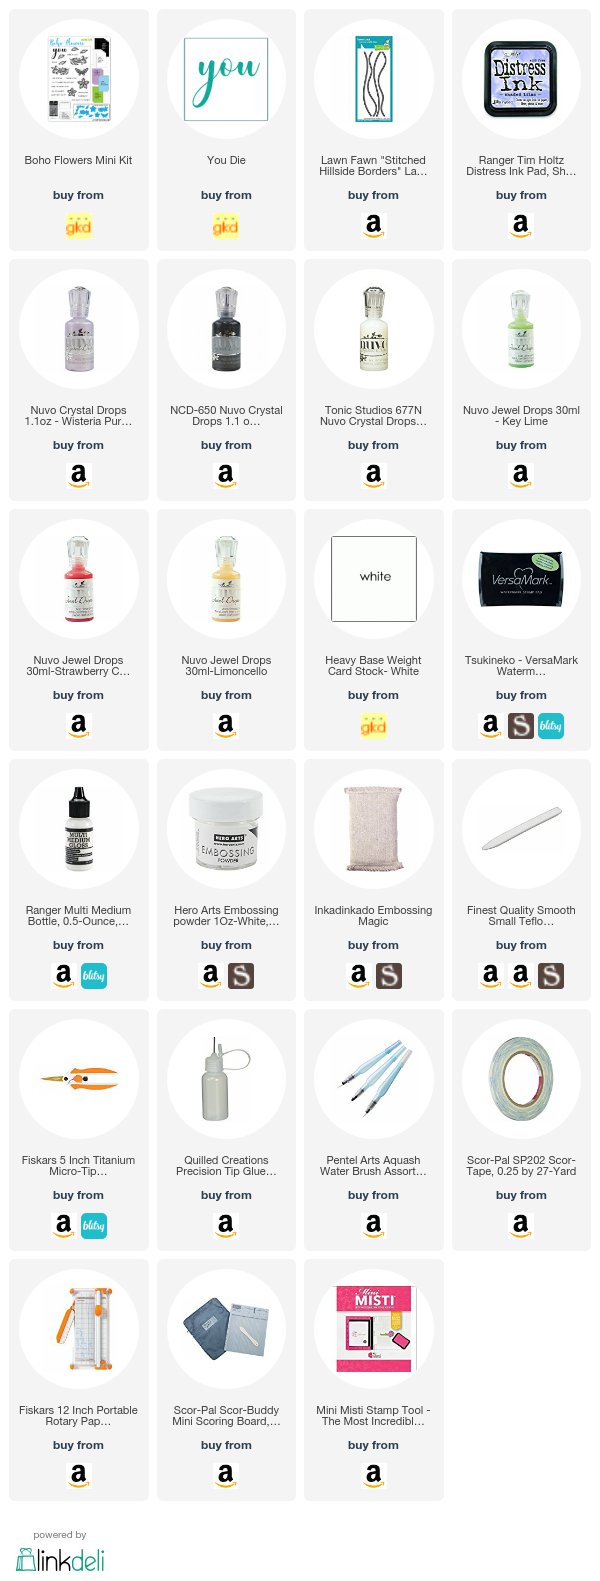
After Hurricane Havery, a lot of my friends worried about us. We're good. This long weekend I thought I could make a card theme of thinking of you. Last month I bought this great kit from Gina K. Designs. It's lovely and useful kit. Also the big you detail die is my favor.

I used Lawn Fawn stitched hill die to cut the lower edge.

I stamped flowers on the card by Versamark ink and embossed by white embossing powder. I sponged color on the card from bottom to up. Color was from deep to light. I splashed the same color on the card by a watercolor brush.

I used the black cardstock to die cut big You. I stamped the thinking of on the white cardbase that under the curve edge. And glued you on the card. I also added some Nuvo drops on the card.

Supplies that I used:

Friday, September 1, 2017

Meadow Dance


Since I joined the #team15in15 challenge, it's been half month I had no time to play my Clarity stamp. But I was enjoyed the 15 days challenge. It's fun and kept me so busy.

Yesterday I finished my last card for challenge. I felt I completed  a big project. Today I couldn't decide I took a break or continued to make other card. Finally I decided I continued to make a card. I need save gas because all around here most gas stations are out of gas now. I don't know this saturation will last how long. I didn't want to go anywhere except I had to. My husband will pick up my daughter after school. So after I cleaned home, I sat down to do my favorite things.

Today I made this card by Clarity Stamp. This is so lovely stamp.

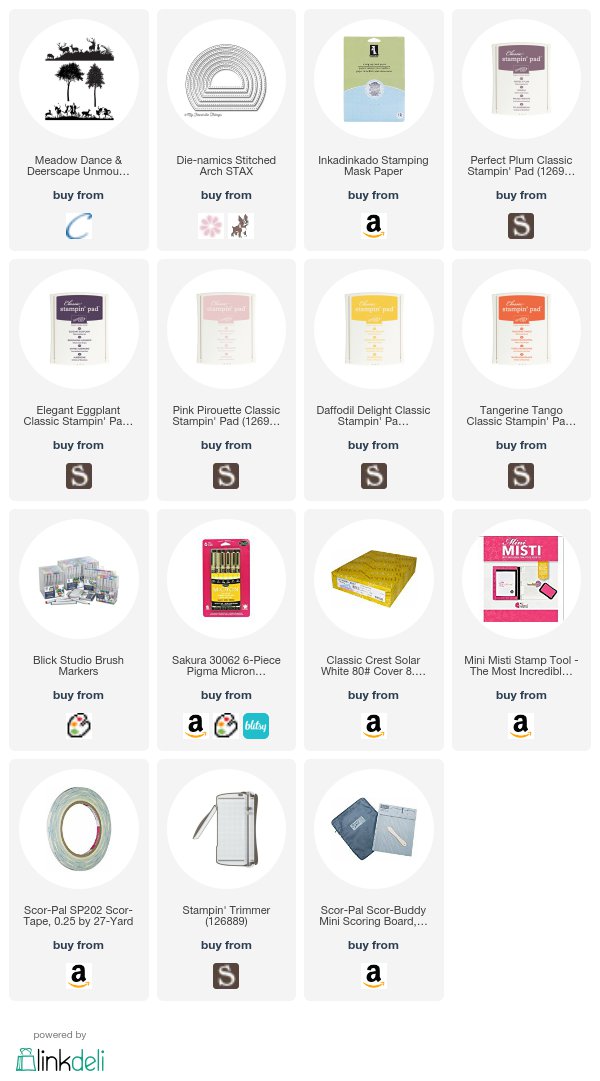
At first, I used large MFT stitched arch stax die cut a 2/3 circle on the mask paper and covered it on the cardstock. At the same time, I tore the copy paper as mountains and covered it over the mask paper. Then I started to build the background colors. I used the purple color to make mountains. For sky I used orange color. So background was sun set color. I used the sponges to build the colors. I used the Blick studio brush marker cool grey 10% and 20% to draw cloud in the sky.

After I finished the background, I took off the mask paper. I used the mini Misti to stamp the dance image to make sure I can get perfect image.

I didn't find match sentiment stamp in my dash. After my daughter(11 yrs pretty girl) was back home, she offered hand writing the sentiment for me. I thought ok, it's good idea. She tried it on the sketch paper and used the black marker wrote "Dance" on the card. It's not perfect but I loved it.

I mounted this card on the very deep purple color heavy cardbase from Paper Accent.

Supplies that I used:

You may also like:

Related Posts Plugin for WordPress, Blogger...